Create your first Module
In this page, we will create a module project for Dart-Platform 3. Keep reading this page which has more information and descriptions that you can easily follow.
Note
For more understanding of the ecosystem of Dart-Suite, See the About Dart-Suite .
1. Create a new project
To make a module, you need to create a new project for in Dart-IDE VSCode Extension first.
Note
For create module, please install VSCode Extension in your VS Code IDE.
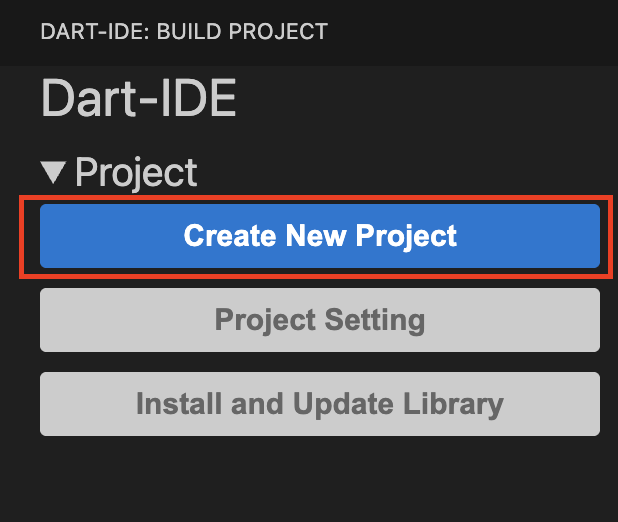
Step 1: Go to the Dart-IDE Extension menu in vs code.
Step 2: Click on the
Create New projectmenu which is in the menu ofProject.
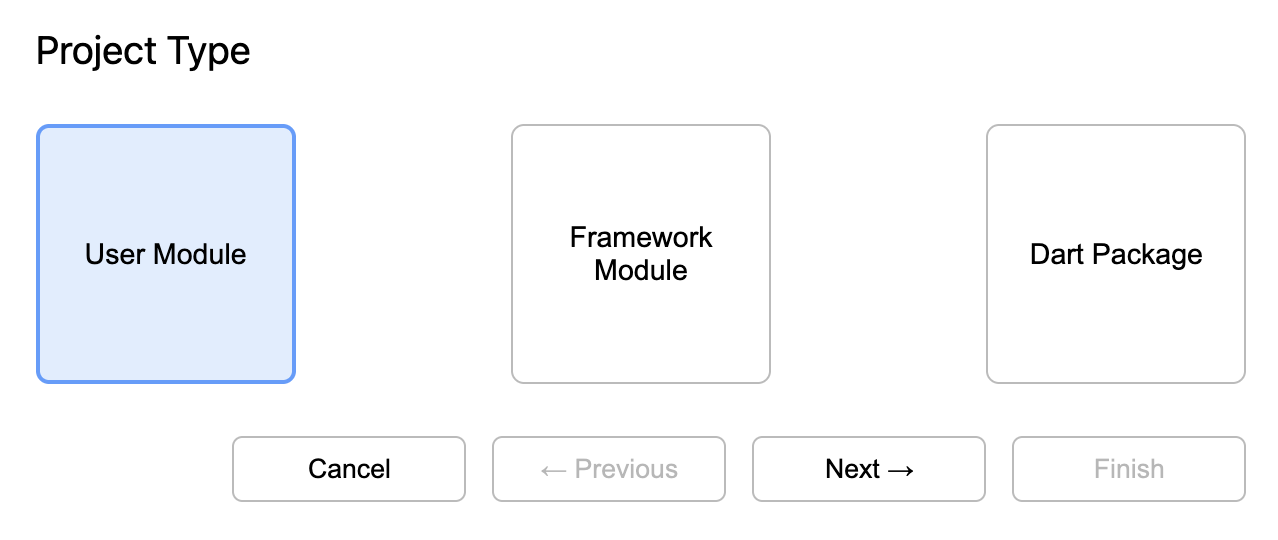
Step 3: Click on the
User Moduleand click on theNextbutton.
Step 4: In the Project Setting popup, complete the following:
Fill out the spaces in the
Name,Package Name,Savelocation andDr.Dart-SDK Versionfield.For the
User Module category, chooseProcess.For more information about category, you can see Category Selection Guide.
Click
Finish.

What is the package name?
Usually, the Package Name is composed of 3 parts (com . company name . your module name) with three dots that separate these parts.
The first part is freestyle so that you can write any names, acronyms, etc. This may help you remember or distinguish the package from other modules.
The middle part is usually for your company name. The last part is for your module name which you have already entered in the Name field.
By following the form, for example, the Package Name is com.doosan.palletizing.
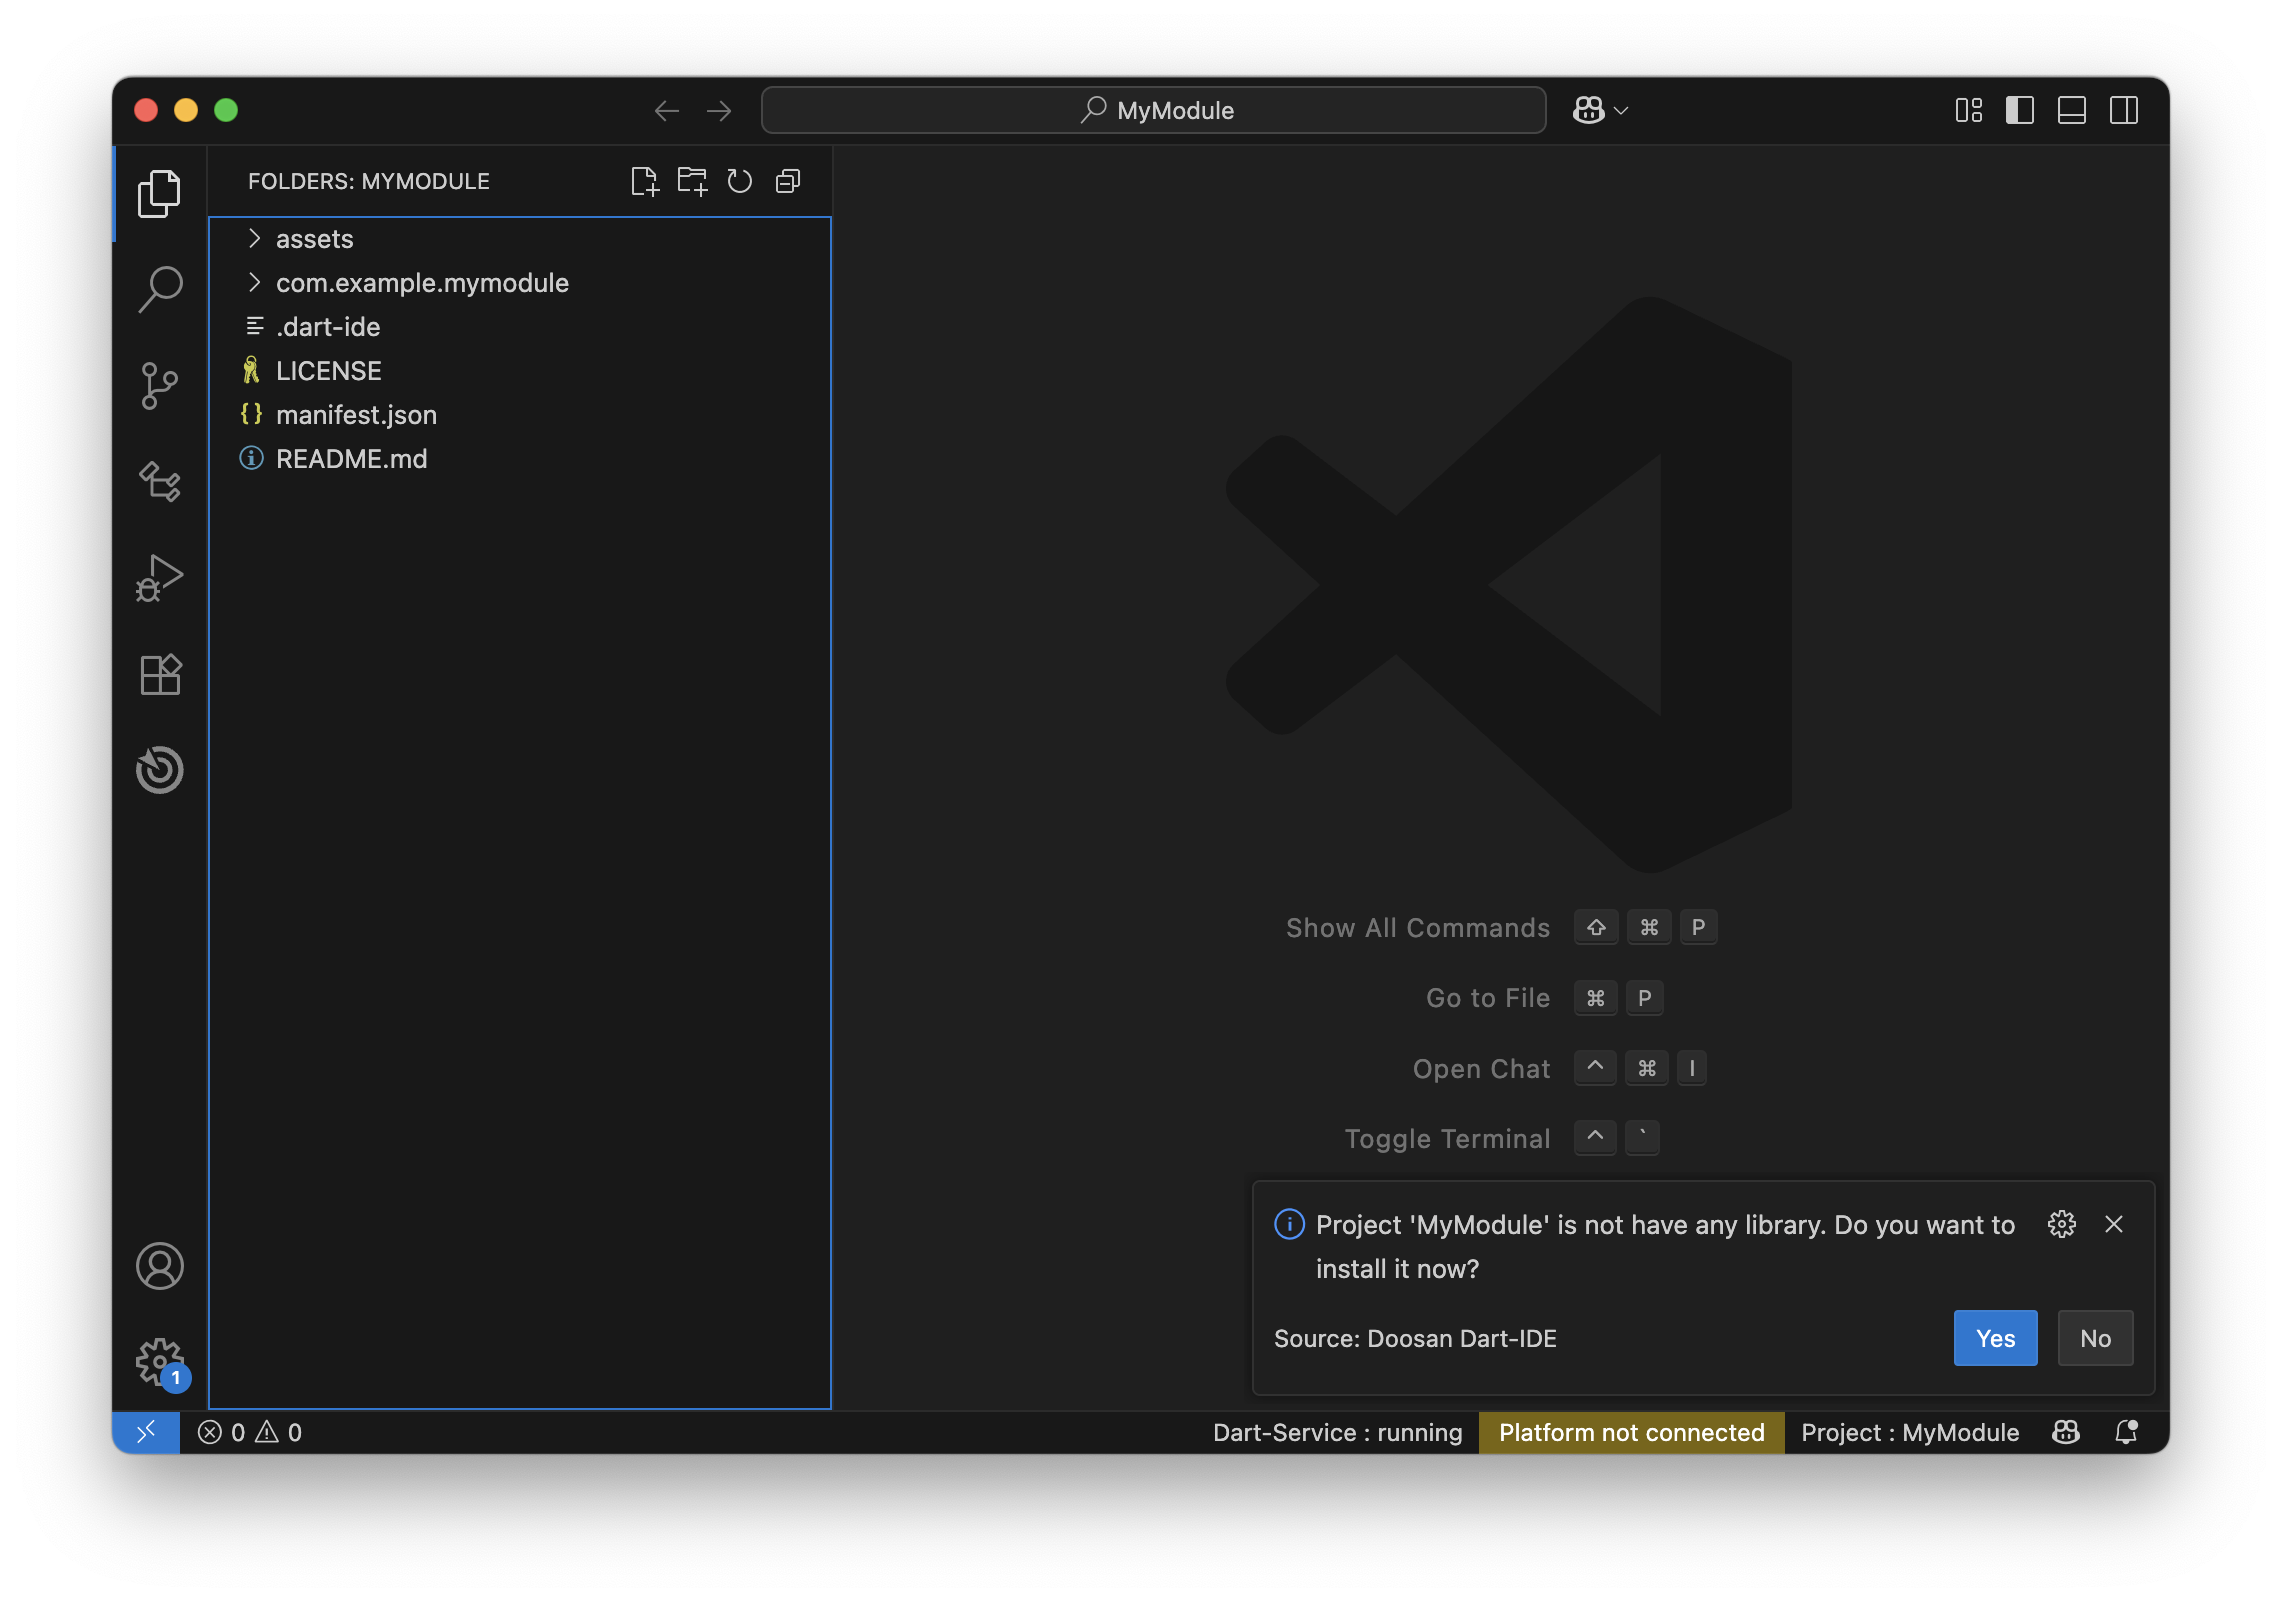
Step 5: After processing, your project folder will be automatically opened.
2. Go to UI Preview
Now the preparation for your module is ready. We will see your module’s layout.
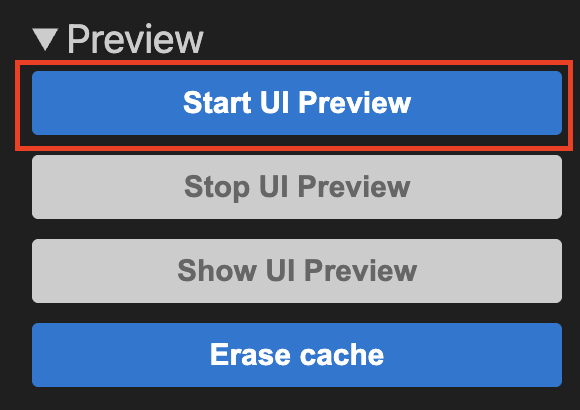
Step 1: Go to the Dart-IDE Extension menu and click
Start UI Previewmenu which is in the menu ofPreview.
Step 2: Extension will create cache folder and resolve library for UI Preview automatically.

Step 3: Now UI Preview will be shown to your web browser!

3. Add UI component
You can add UI component to add some typescript in your module project.
Dart-platform is using MUI v5 as the ui library. To use this, you can add button, table, or textfield to your module. In this tutorial, we will add button to your project.
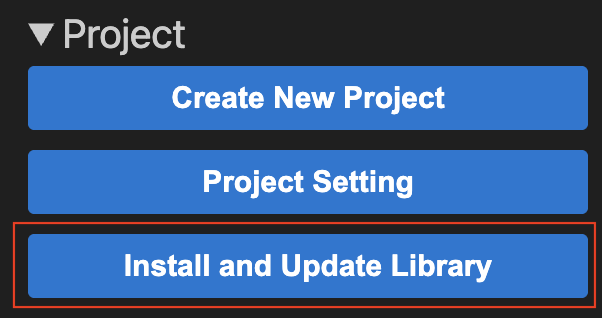
Step 1: Go to the Dart-IDE Extension menu and click
Install and Update Librarymenu which is in the menu ofProject.
Step 2: Library in the package.json will be installed to your module project automatically. it’ll take some times depending on your computer's performance.

If install finished, message will be shown
Note
If you encounter any problems during installation, please refer to Dart-IDE Extension FAQ .
Step 3: Go to the App.tsx file and add below code on the top.
import { Button } from '@mui/material';
Step 4: Add Button tag to the return like below code. Then, you can see button in the UI Preview.
  return (
    <div className={styles['container-sample']}>
      <div className={styles['label-sample']}>{t('welcome')}</div>
      <div>
        <Button> Button! </Button>
      </div>
    </div>
  );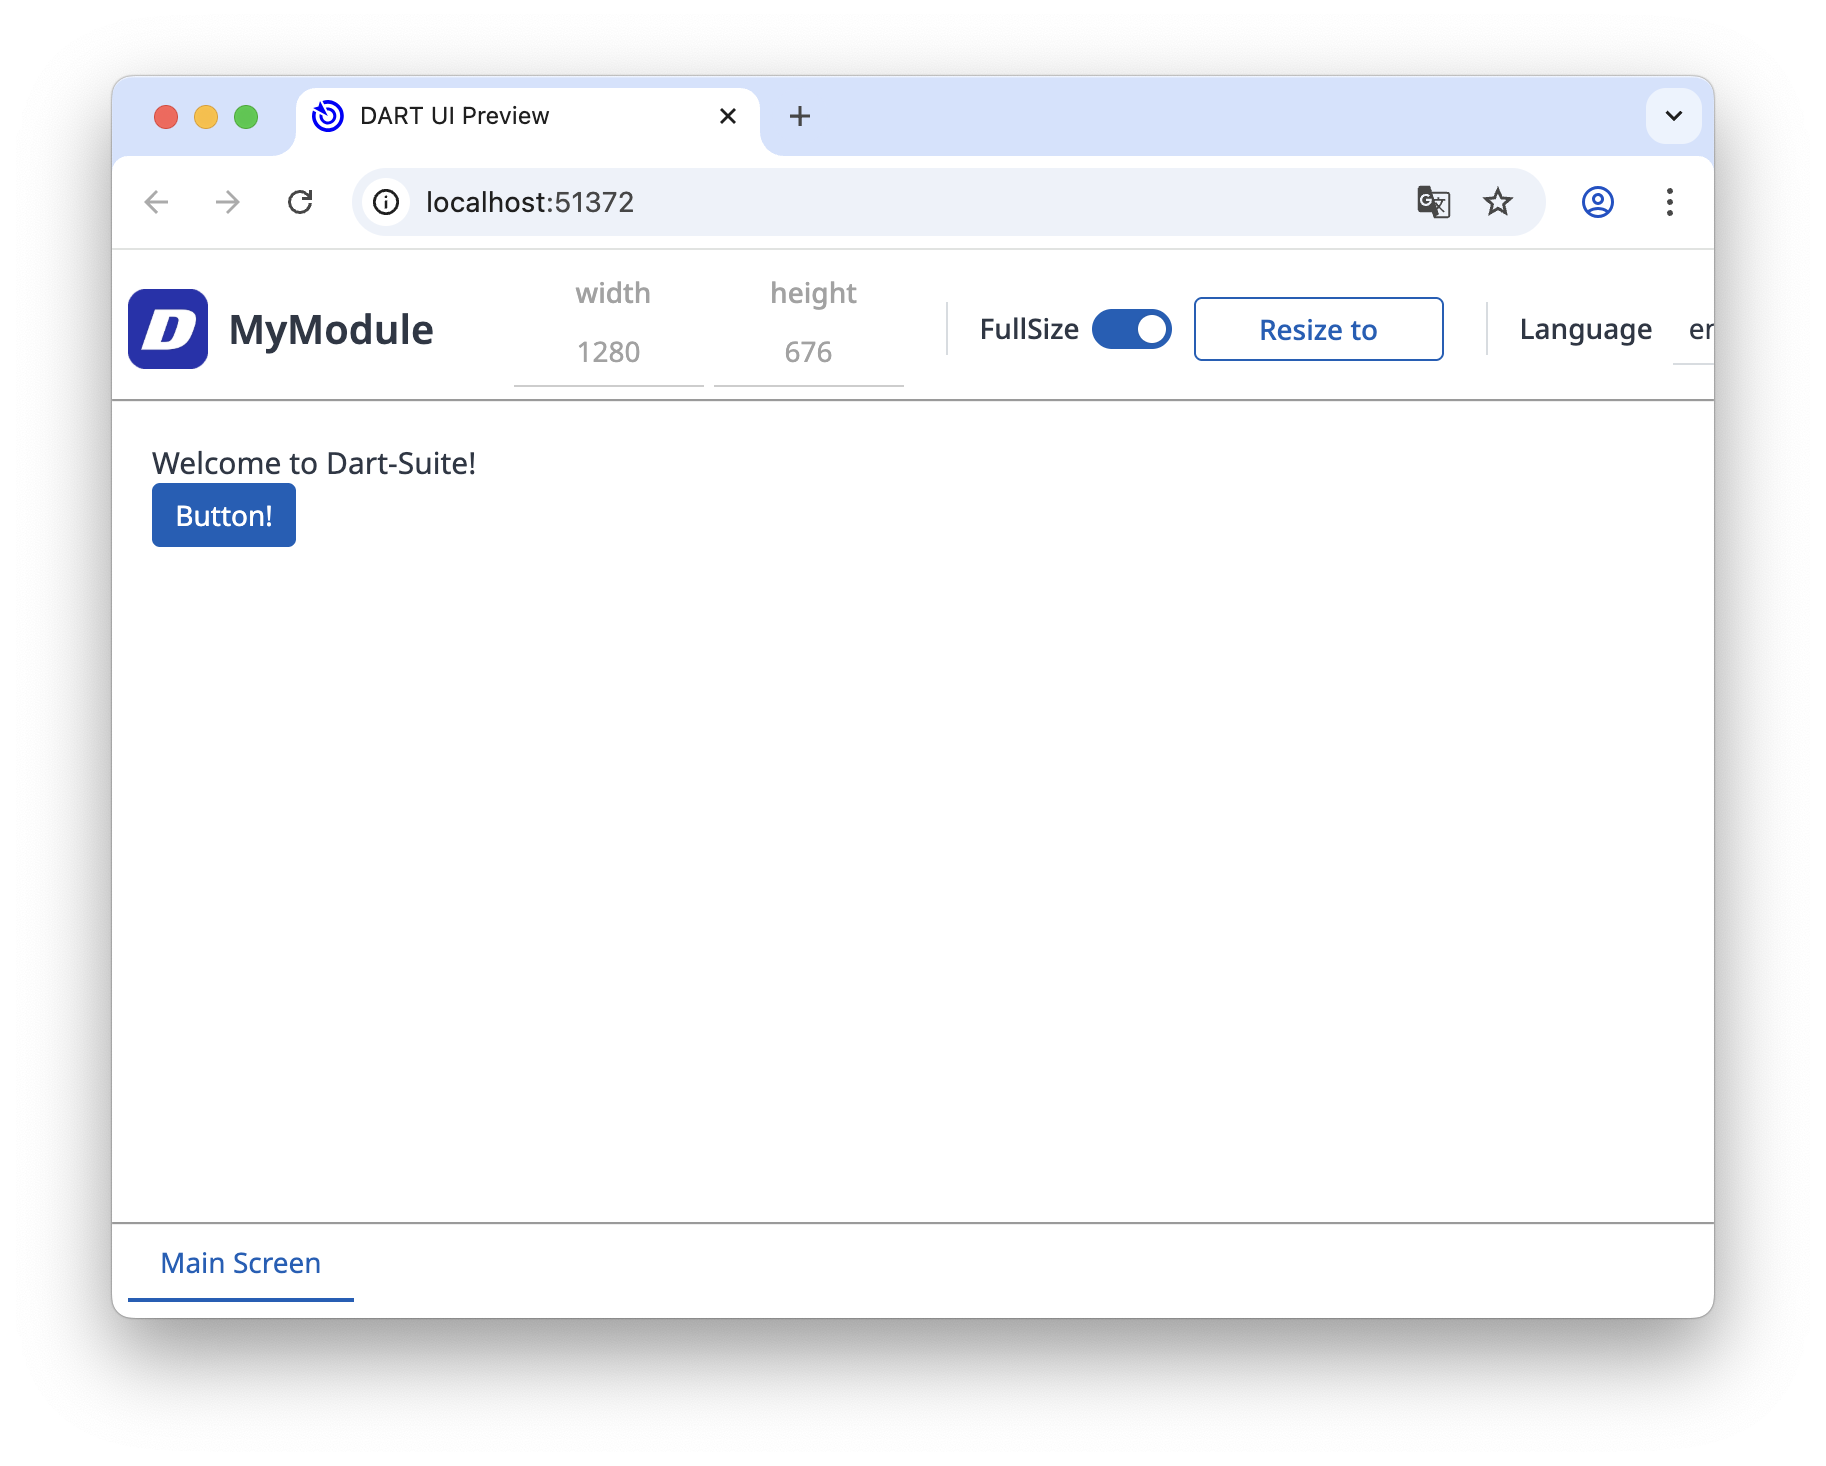
Button is added to the module screen
Note
If you want to add more ui component, we recommend to check mui site for get more example about it.
4. Add click event for run DRL
For operate the robot, we need to run DRL on the module. This time, we will run a simple DRL when click the button.
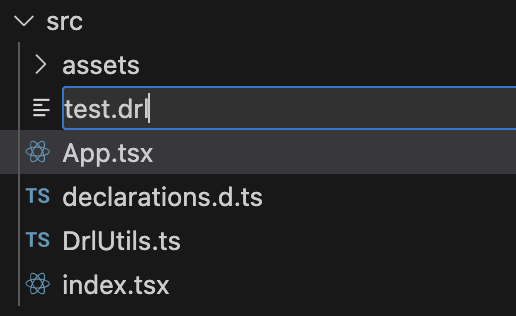
Step 1: Add DRL file in your project’s src folder.
Step 2: Write below code for moving robot.
# 1) set velocity and acceleration of robot (joint)
set_velj(40)
set_accj(40)

# 2) set target pose
target_pose = posj([0,0,90,0,90,0])

# 3) Move to target pose!
movej(target_pose, mod=DR_MV_MOD_ABS, ra=DR_MV_RA_DUPLICATE, ref=None)
Note
For create DRL more efficiently, we recommend to install Doosan DRL extension to the VScode.
If you want to see more information about DRL, please check our Programming manual.
Step 3: Import DRLUtils and your DRL file to App.tsx.
import DrlUtils from './DrlUtils';
import YourDRL from './test.drl';
Step 4: Create function of run DRL like below in the App function.
function App(props: IAppProps) {
  const { moduleContext } = props;
  ...
  // 1) create function
  const runDRL = () => {
    // 2) get instance of drlutils
    const instance = DrlUtils.getInstance();

    // 3) run program!
    instance.runProgram(props.moduleContext, YourDRL, [], null, false);
  };
  ...
}
Step 5: Link function to Button’s onClick property. Now DRL will be run when you click the button.
// Add onClick props and link runDRL function
<Button onClick={runDRL}> Button! </Button>
Note
Please remind that Dart-API and DRL are not supported in the UI Preview. If you want to check these items, you need to run it in the Dart-Platform.
When you run DRL on the Dart-Platform, you need to set robot state to Auto mode.
Finally, your first module is complete!
Save the project, and we will go to the next step for running this module.