Skip table of contents

Build/Run

Installing and Starting Dart-Services.

Now that Dart-Services has been released, you can build with this one program on your PC.

Just follow these 3 steps:

  • Step 1: Install Dart-Services

  • Step 2: Setup the Dart-Services

  • Step 3: Start the Dart-Services

Note

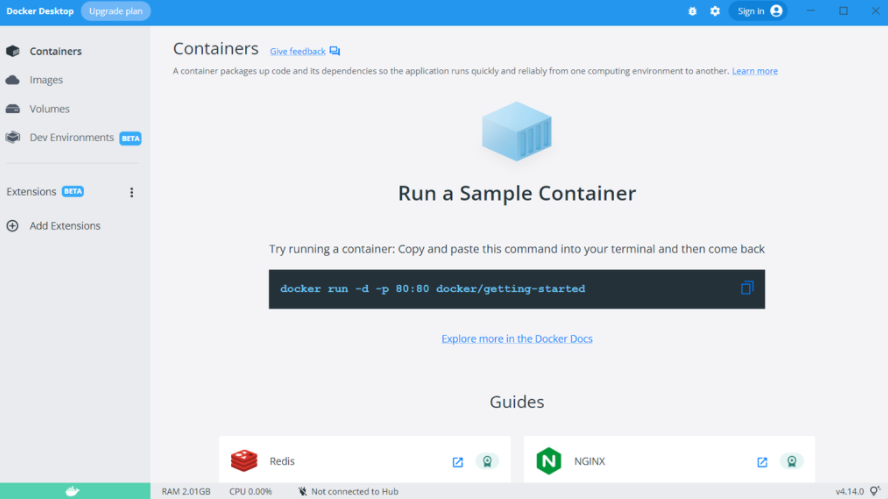
Dart-Services uses the Docker Desktop internally. The Docker Desktop is for Free Only to Small Companies (fewer than 250 employees and less than $10 million in annual revenue). Free Docker is a better option if your company is bigger. Instead of this Docker desktop, you can use this:https://docs.docker.com/engine/reference/commandline/cli/.

If not, you must choose the paid Docker right here: https://www.docker.com/pricing/.

Build and Run

The reason to access Dart-IDE with Docker and AWS is to prepare the environment for the connection between Dart-IDE with Dart-Platform. This connection allows you to operate the build/run function. Without it, you won’t be able to use the Build/Run function.

  • Step 1: Connect Dart-IDE to the Dr.Dart-Platform. Once the connection is set up and maintained, you can find the connection button turns green. (Ex: 172.17.0.1) .

  • Step 2: Make sure your source code is ready to be built on Dart-IDE. Then you can move to the next step.

  • Step 3: Build your module.

When you finish the coding on your module, click on the Build button on the top right of the screen.
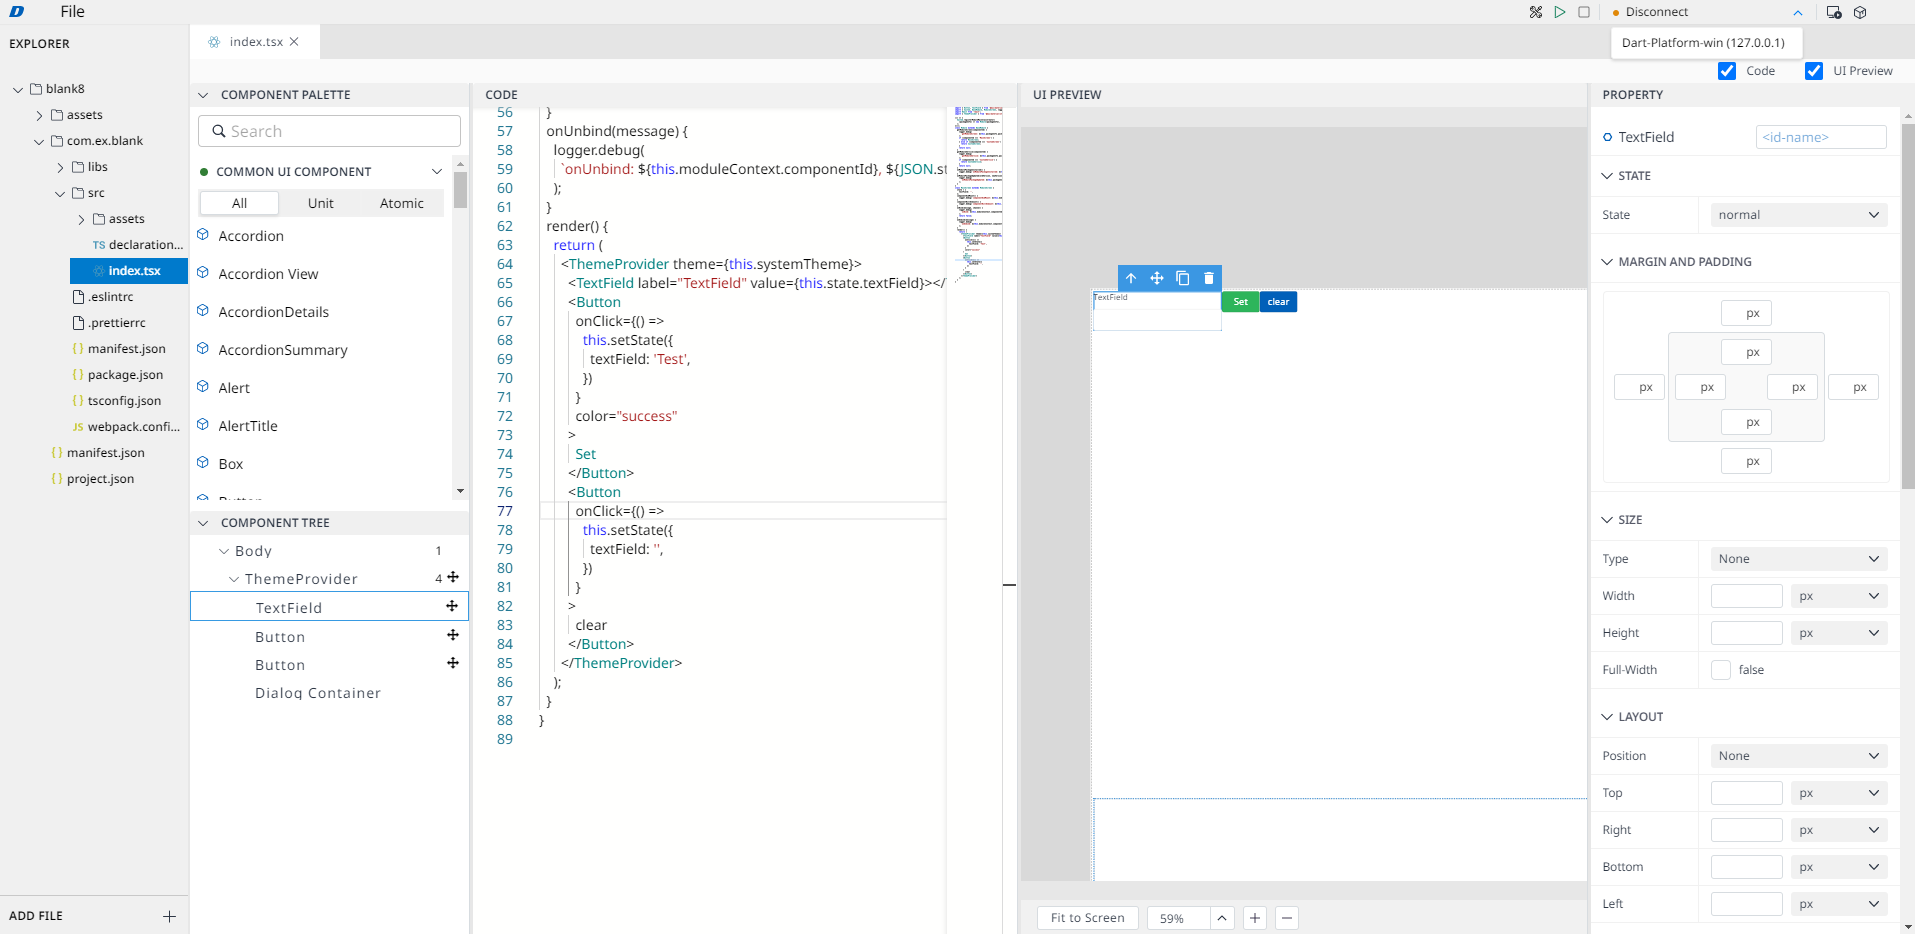
Finish your module.

Click on the Build button.

Dart-IDE will process the code line until it brings you a specific outcome. Once done, there will be a notification [Info] Build successfully; you can download the .dm file to install into your Dart-Platform as the guideline Install a Module.

Note

If no message appears in the build window, close all website windows and connect to Dart-IDE again.

  • Step 4: Run your module.

Similarly to Build features, Run allows you to prepare all the steps from scratch until you package a final module. Moreover, it will run directly on the Dart-Platform so you can notify the result on the main screen.

The UI module on the Dart-Platform appears after running a module.

You can interact with your final module once it’s launched.

Note

The result of Build and Run is the same.

  • Errors:

When building/running the module fails, the screen will show the Build failed.

In the output section, you will see the details of the errors. Here, Dart-IDE will point you to where the error is, allowing the user to correct it.

If any errors happen, you should rebuild the module. Dart-IDE will provide the detail of the code editor to adjust or delete unnecessary lines to ensure it runs as you wish.

  • Error response from daemon : …

    • Solutions:

      1. Try with cmd instead.

      2. Run the program as administrator

Error. Error response from daemon : …

Note

When you stop running the program, the system will cease immediately, and the display will show Build failed.

Info.

If you are having trouble using Dart-Service or want a more technical approach, proceed as follows. However, this method is not recommended.

See more...

You must install Docker and AWS on your computer system to create a convenient building/running module environment. Also, follow these steps:

1. Installing and Setting Docker.

Install Docker

Installing and using Docker are prerequisites for the build/run process. There are detailed installation instructions on the official Docker homepage so you can refer to them here.

Free Docker is a better option if your company is small (fewer than 250 employees and less than $10 million in annual revenue). It useshttps://docs.docker.com/engine/reference/commandline/cli/.

If not, you must choose paid Docker right here: https://www.docker.com/pricing/.

Step 1: After downloading Docker, please choose and run the downloaded file.

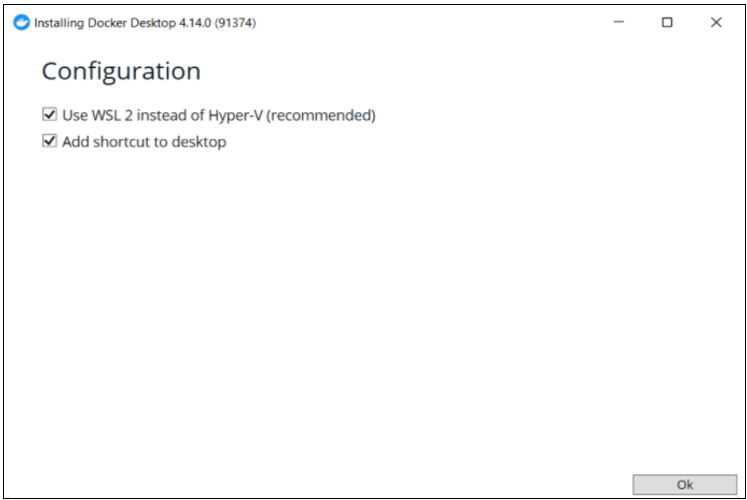
Step 2: After running, stick both checkboxes and select Ok.

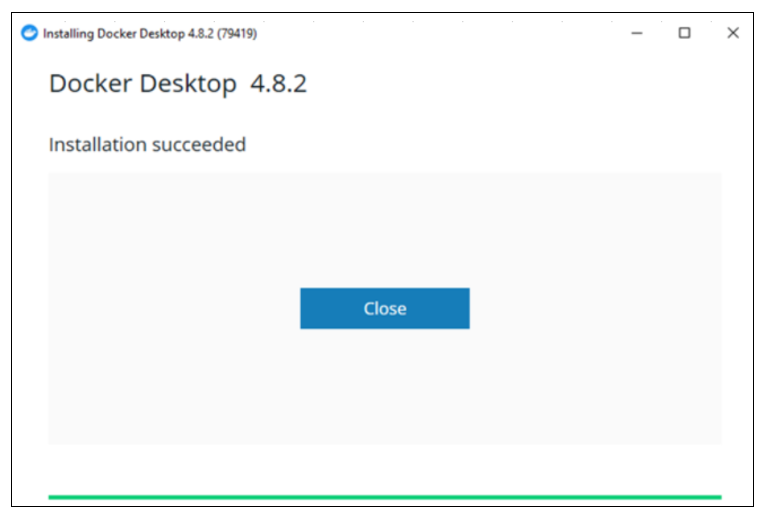
Step 3: After installing successfully, select Close. Then select Start, choose and run Docker Symbols.

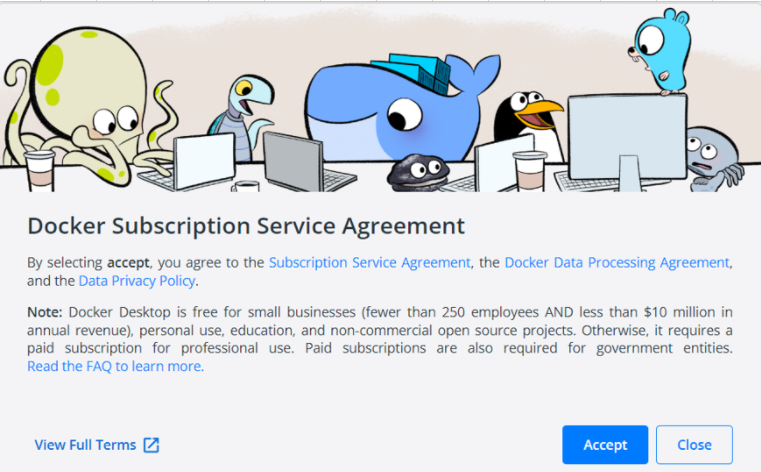
Step 4: After running, Select Accept.

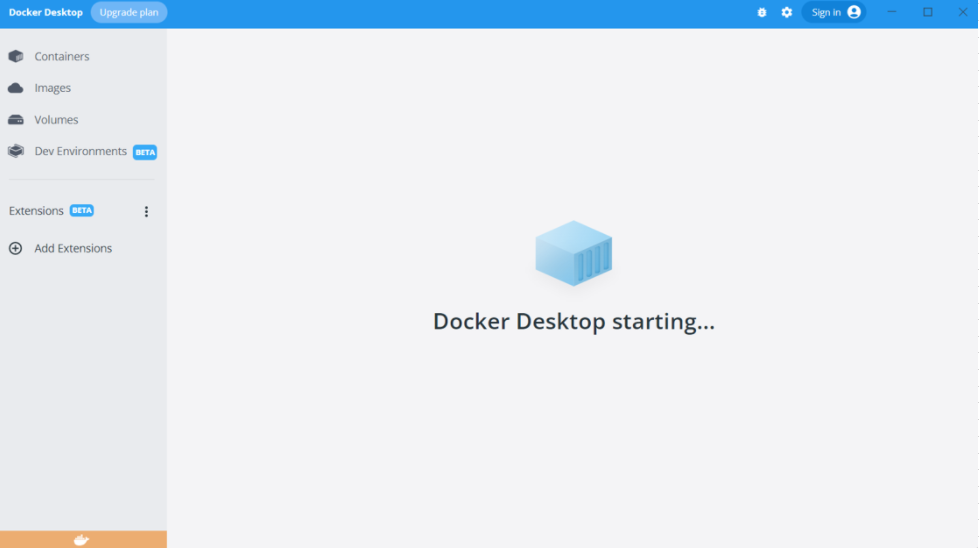
Step 5: Waiting to start the Docker application.

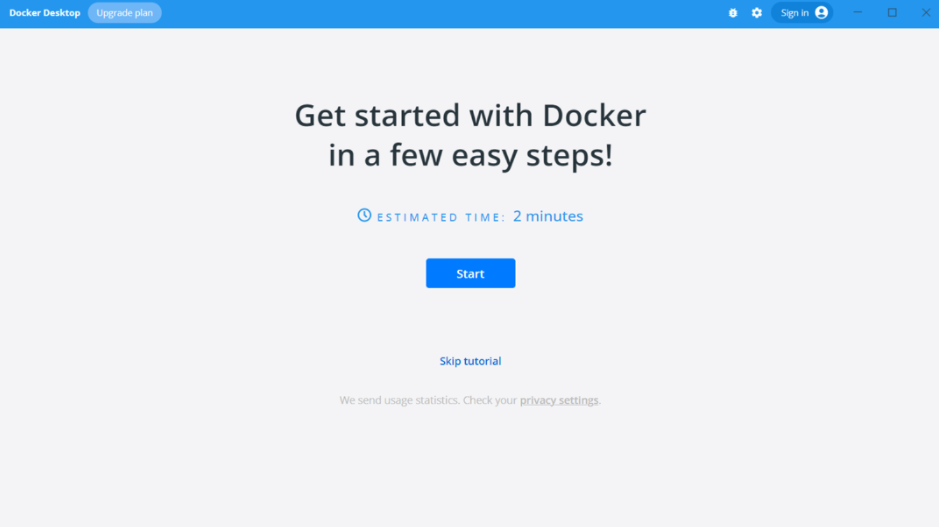
Step 6: Select Skip tutorial

Docker runs successfully! Now you can continue to install AWS below.

2. Install AWS and implement a connection with AWS

  • Step 1: Install the AWS.

Install & guide for all operation systems (Explore more here).

  • Step 2: After installing AWS successfully, implement a connection with AWS.

Implement connection with AWS

  1. Open the Window PowerShell.

  2. Enter the AWS Configure.

    CODE
    aws configure
    1. Access-key :

      CODE
      AKIA4TIS27OCIYTMWJ6S
    2. Secret-access-key :

      CODE
      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
    3. Default Region name :

      CODE
      ap-northeast-2
    4. Default output format [None] :

      CODE
      json
      Document - Guides - Beginner's Guide - Build your first app -  Install AWS

  3. Login to AWS CLI: Docker login command to AWS connects to the repository.

    CODE
    aws ecr get-login-password --region ap-northeast-2 | docker login --username AWS --password-stdin 866012298116.dkr.ecr.ap-northeast-2.amazonaws.com
    Document - Guides - Beginner's Guide - Build your first app -  Install AWS

If the following errors occur, please follow the instructions below.

  • Error 1. Failed with status: 400 Bad Request :

    • Solutions:

      1. Make sure Docker is running.

      2. If it still does not work, there might be an installation process that was skipped.

  • Error 2. An error occurred (AccessDeniedException) when calling the GetAuthorizationToken operation : …

    • Solutions:

      1. Please send your public IP to the email address below. This problem is caused by the IP being blocked.

  • Error 3. Error response from daemon : …

    • Solutions:

      1. Try with cmd instead.

      2. Run the program as administrator

Error 1. Failed with status: 400 Bad Request

Error 2. An error occurred (AccessDeniedException) when calling the GetAuthorizationToken operation : …

Error 3. Error response from daemon : …

3. Get started with Docker

  • Step 1: Pull the latest images from the repository.

CODE
docker pull 866012298116.dkr.ecr.ap-northeast-2.amazonaws.com/docker-node-server-webapp-ecr:latest
Document - Guides - Beginner's Guide - Build your first app - Get started with Docker

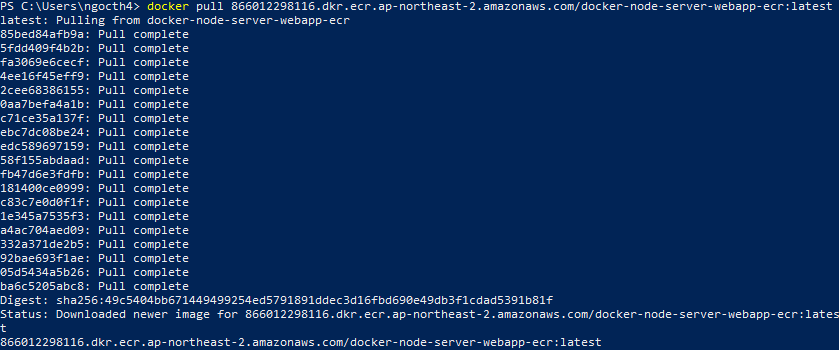
PowerShell shows the pull completed.

  • Step 2: Shut down the running docker container.

CODE
docker kill $(docker ps -a -q --filter "ancestor=866012298116.dkr.ecr.ap-northeast-2.amazonaws.com/docker-node-server-webapp-ecr:latest")
Document - Guides - Beginner's Guide - Build your first app - Get started with Docker
  • Step 3: Delete the old docker container.

CODE
docker rm $(docker ps -a -q --filter "ancestor=866012298116.dkr.ecr.ap-northeast-2.amazonaws.com/docker-node-server-webapp-ecr:latest")
Document - Guides - Beginner's Guide - Build your first app - Get started with Docker
  • Step 4: Run the docker container with newly pulled images.

CODE
docker run -d -p 3002:3000 -p 8089:8089/udp 866012298116.dkr.ecr.ap-northeast-2.amazonaws.com/docker-node-server-webapp-ecr:latest
Document - Guides - Beginner's Guide - Build your first app - Get started with Docker

Now the Dart-IDE is connected with your Dart-Platform and is ready to start for Build and Run.

JavaScript errors detected

Please note, these errors can depend on your browser setup.

If this problem persists, please contact our support.