User Component Node
User Component is generated in Visual Scripting panel automatically when you drag and drop it into UI Preview. Besides, it helps you to select the needed input/output and connect them with other nodes.
Refer to this for further info: Node
How to add input/output to User Component node
Add input to User Component Node
Step 1: Select
(+) Inputbutton.

Step 2: Choose type of need input.
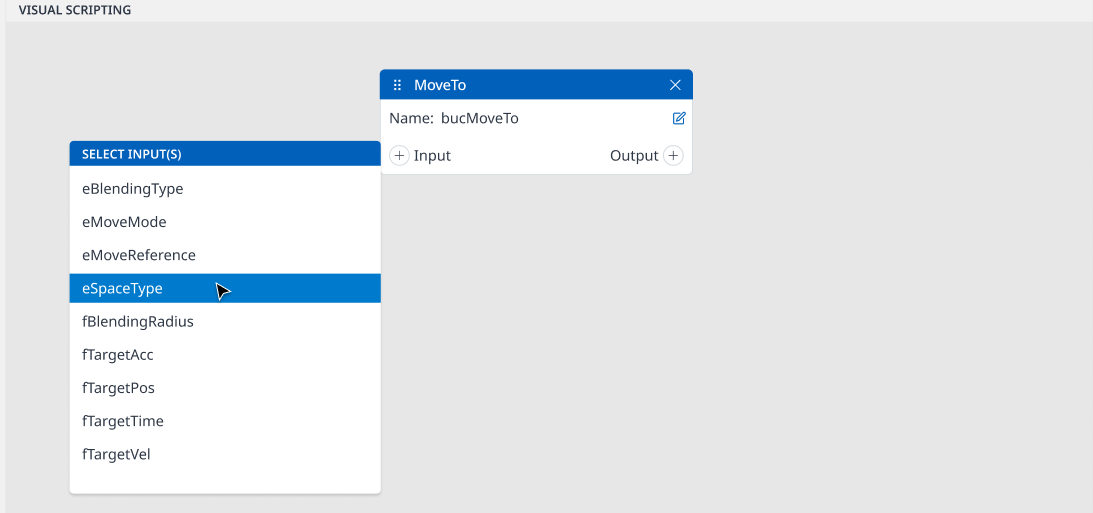
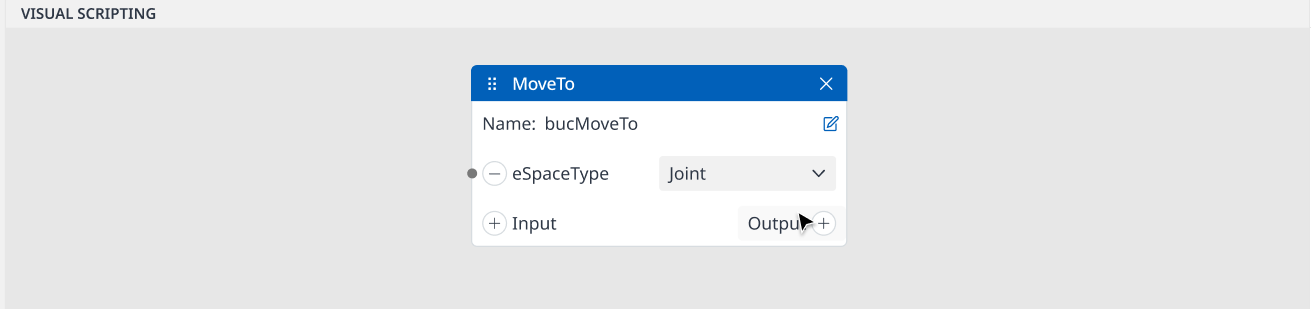
Then, you add an input port successfully!
Add Output to User Component Node
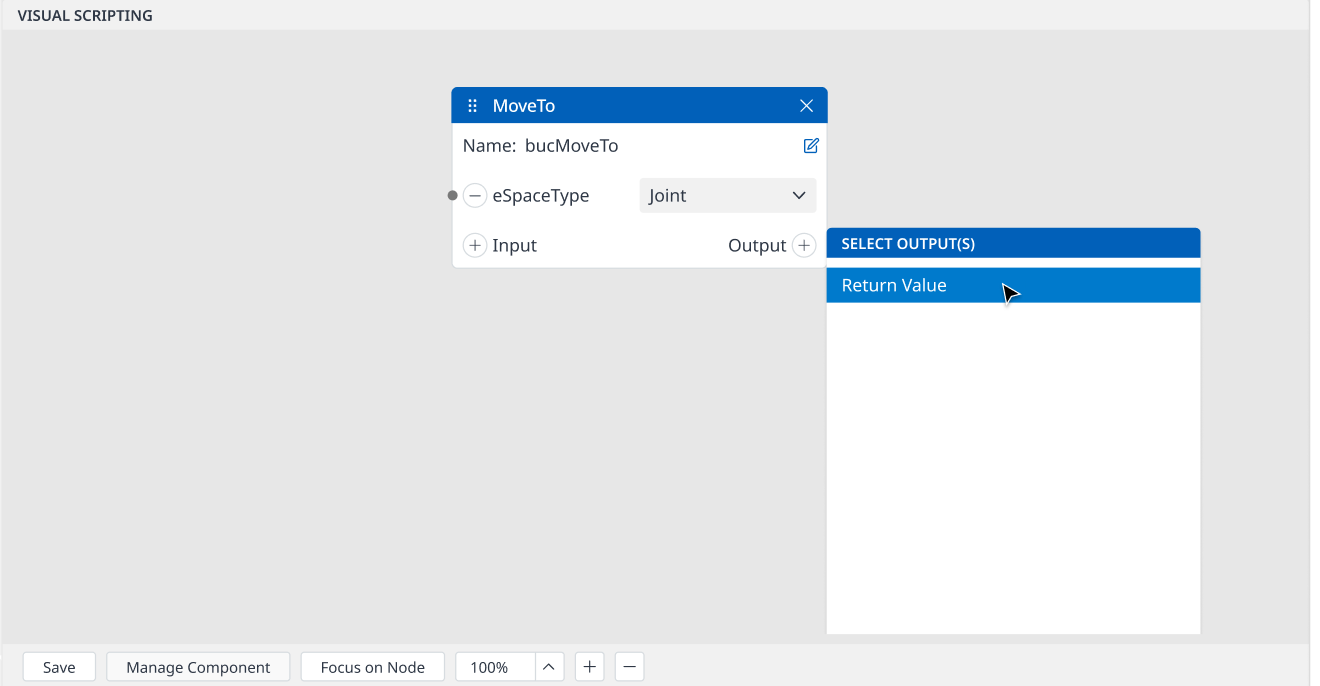
Step 1: Select
(+) Outputbutton.
Step 2: Choose type of need input.
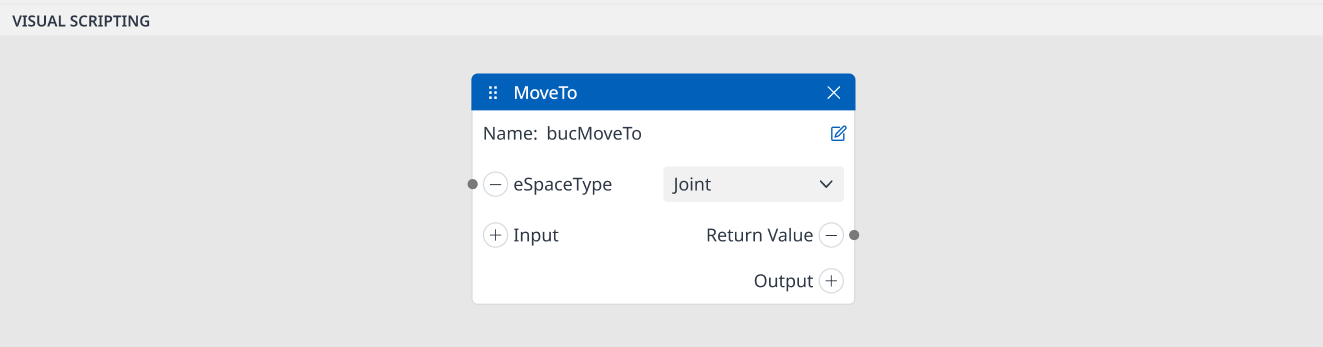
Then you add an output port successfully!
Input/Output Port Addition
Each User Component Node has its selectable input and output which might be different with other User Component Nodes.
USER COMPONENT | INPUT ITEM | OUTPUT ITEM | |
|---|---|---|---|
| 1 | 3D Simulator View |
| N/A |
| 2 | Get Pose |
|
|
| 3 | Move To |
|
|
| 4 | Joint Jog View |
|
|
| 5 | Task Jog View |
|
|
| 6 | Joint Pose Control |
|
|
| 7 | Task Pose Control |
|
|
| 8 | Digital Input Monitoring |
|
|
| 9 | Digital Output Test Button |
|
|
| 10 | Analog Input Monitoring |
|
|
| 11 | Analog Output Test Button |
|
|
| 12 | Robot Pose Monitoring |
|
|