Build a Module
In this page, we will build and install module project for Dart-Platform. Keep reading this page which has more information and descriptions that you can easily follow.
Install Dart-Services
First, we need to install Dart-Services to build your module. You can see more information about dart-services in here.
Note
Dart-Services uses the Docker Desktop internally. The Docker Desktop is for Free Only to Small Companies (fewer than 250 employees and less than $10 million in annual revenue). Free Docker is a better option if your company is small. Instead of this Docker desktop, you can use this CLI version.
If not, you must choose the paid Docker right here.
For install it, follow these 3 steps.
Step 1: Download and install Dart-Services for your platform.
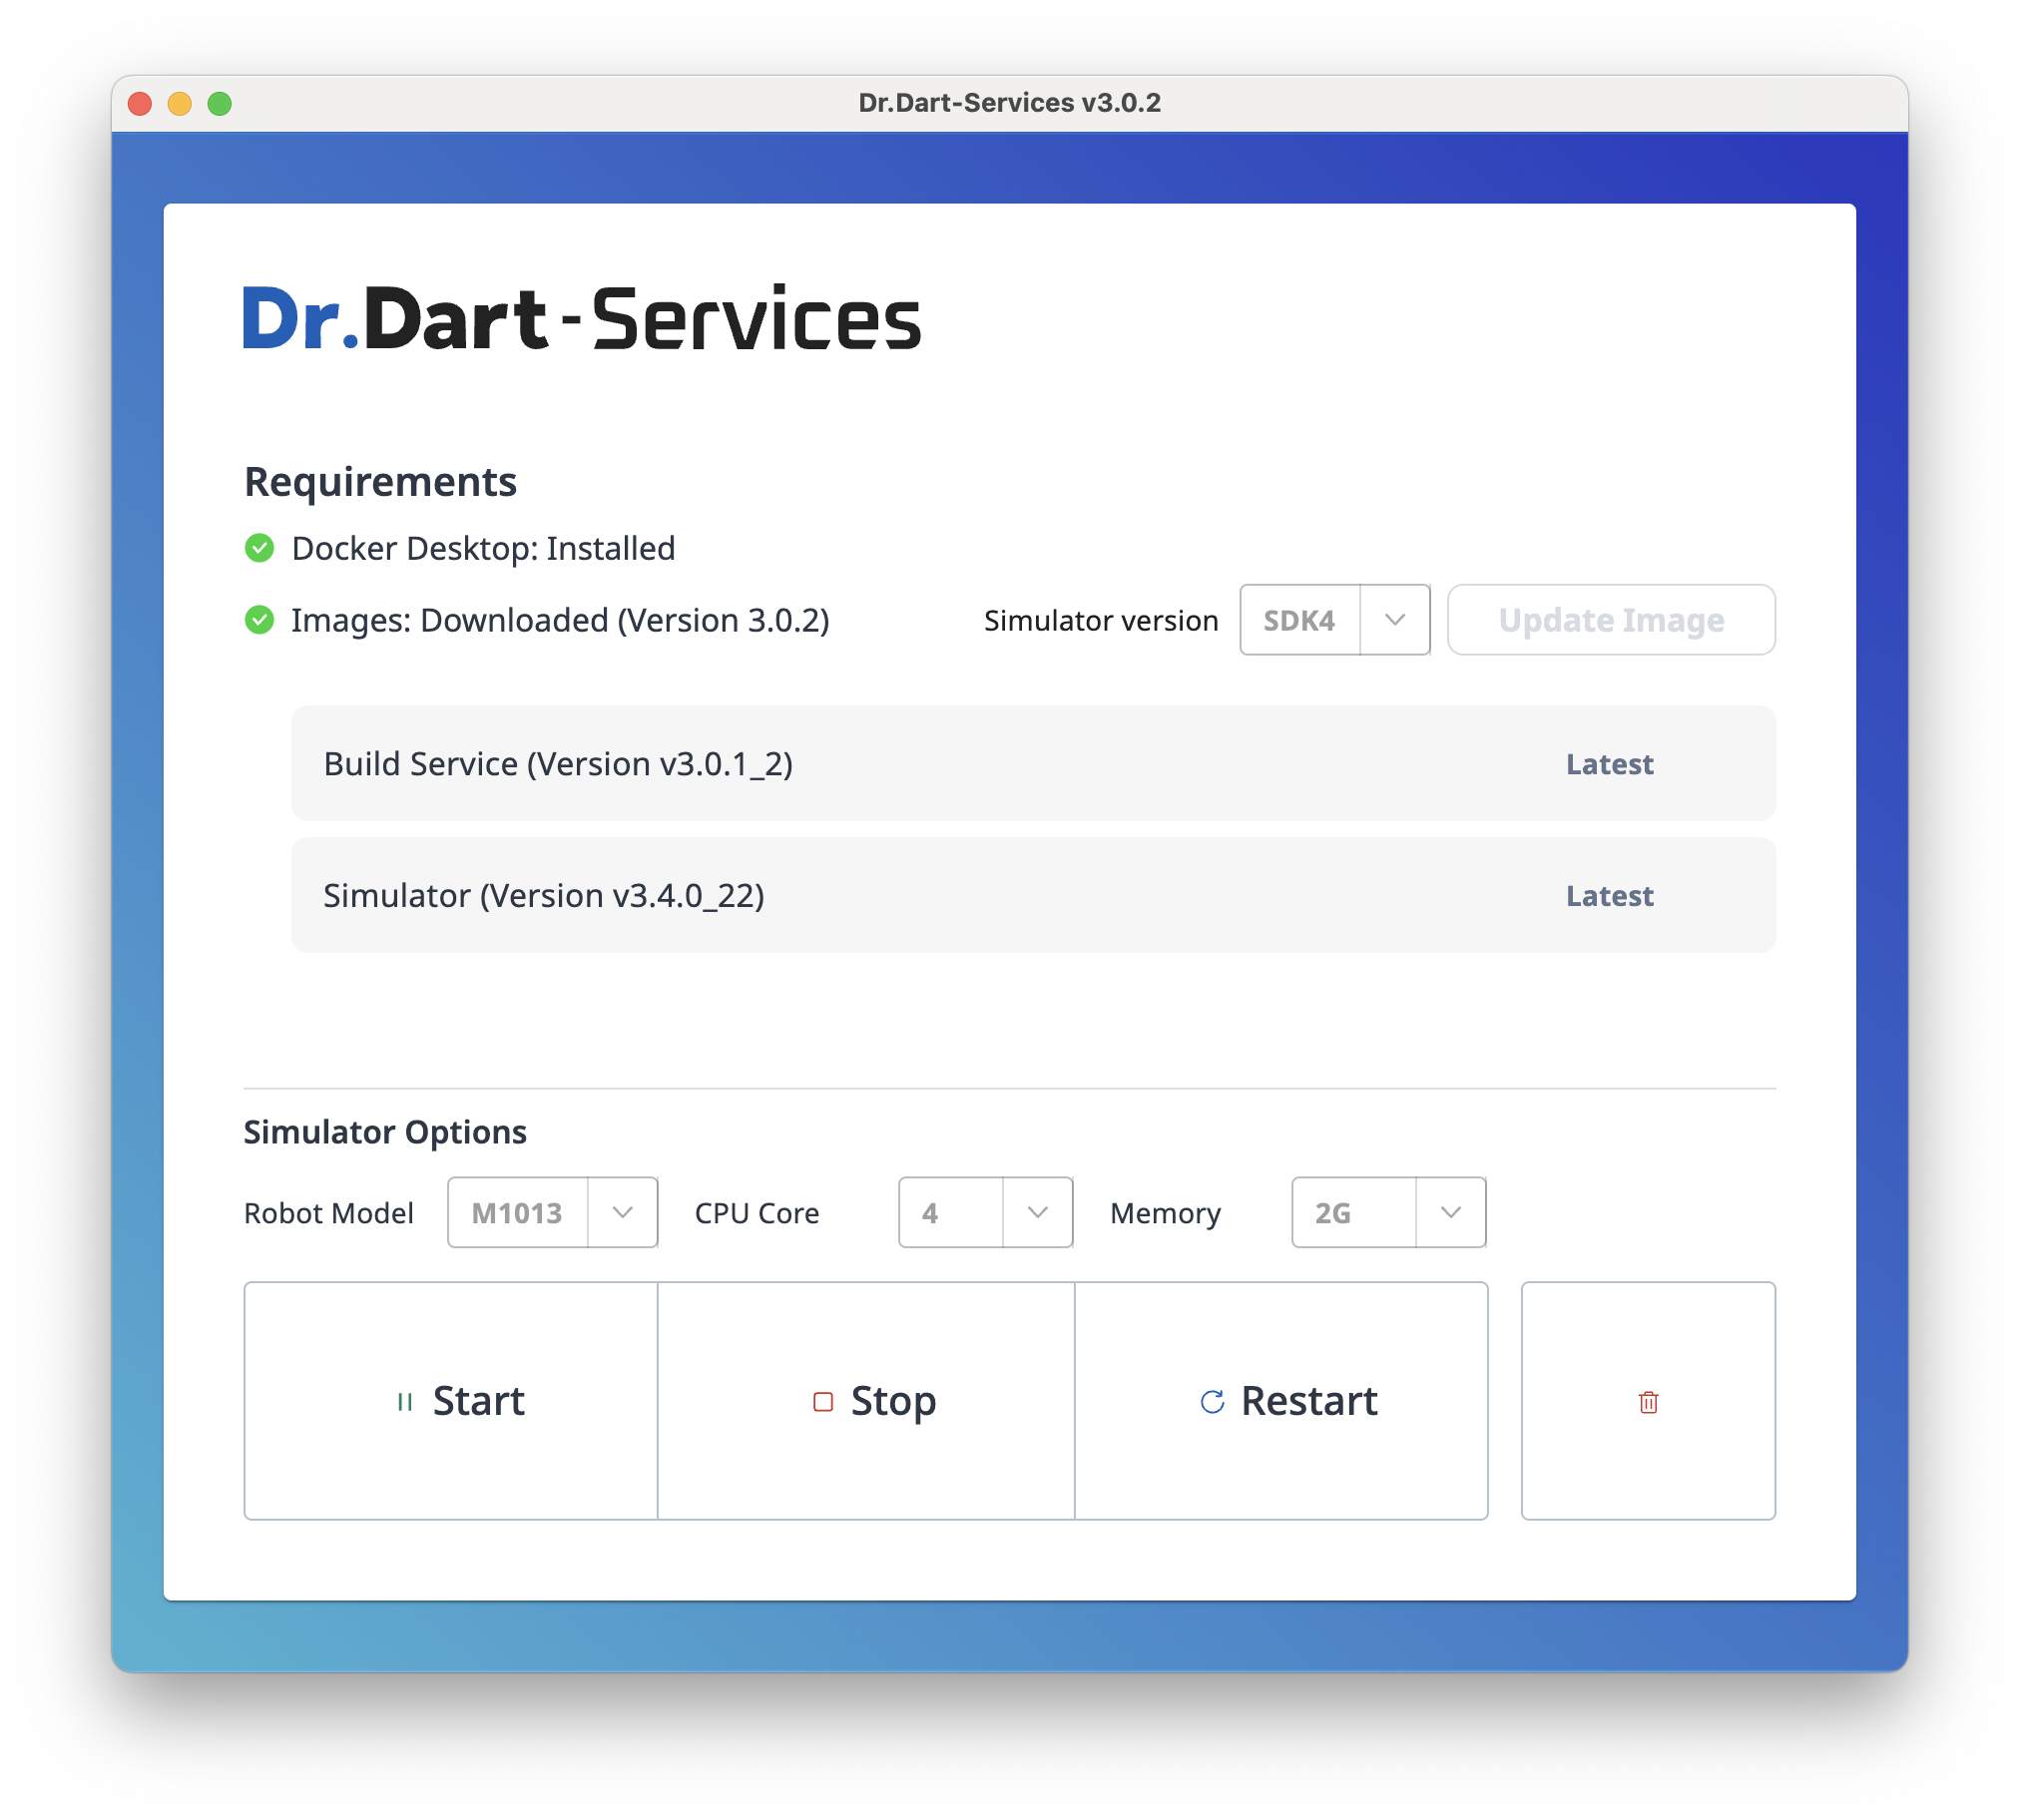
Step 2: Setup the Dart-Services. You can see more details in below page.
Step 3: Start the Dart-Services.
Install Dart-Platform
Now, for check your module, let’s install Dart-platform to your PC. You can see more information about Dart-Platform in here
For install and run it, follow these 2 steps.
Step 1: Download and install Dart-Platform for your OS platform.
Step 2: For use Dart-Platform, you need to connect Dart-Platform to robot controller or Dart-Services. In order to connect, please select the IP and click the Connect button.
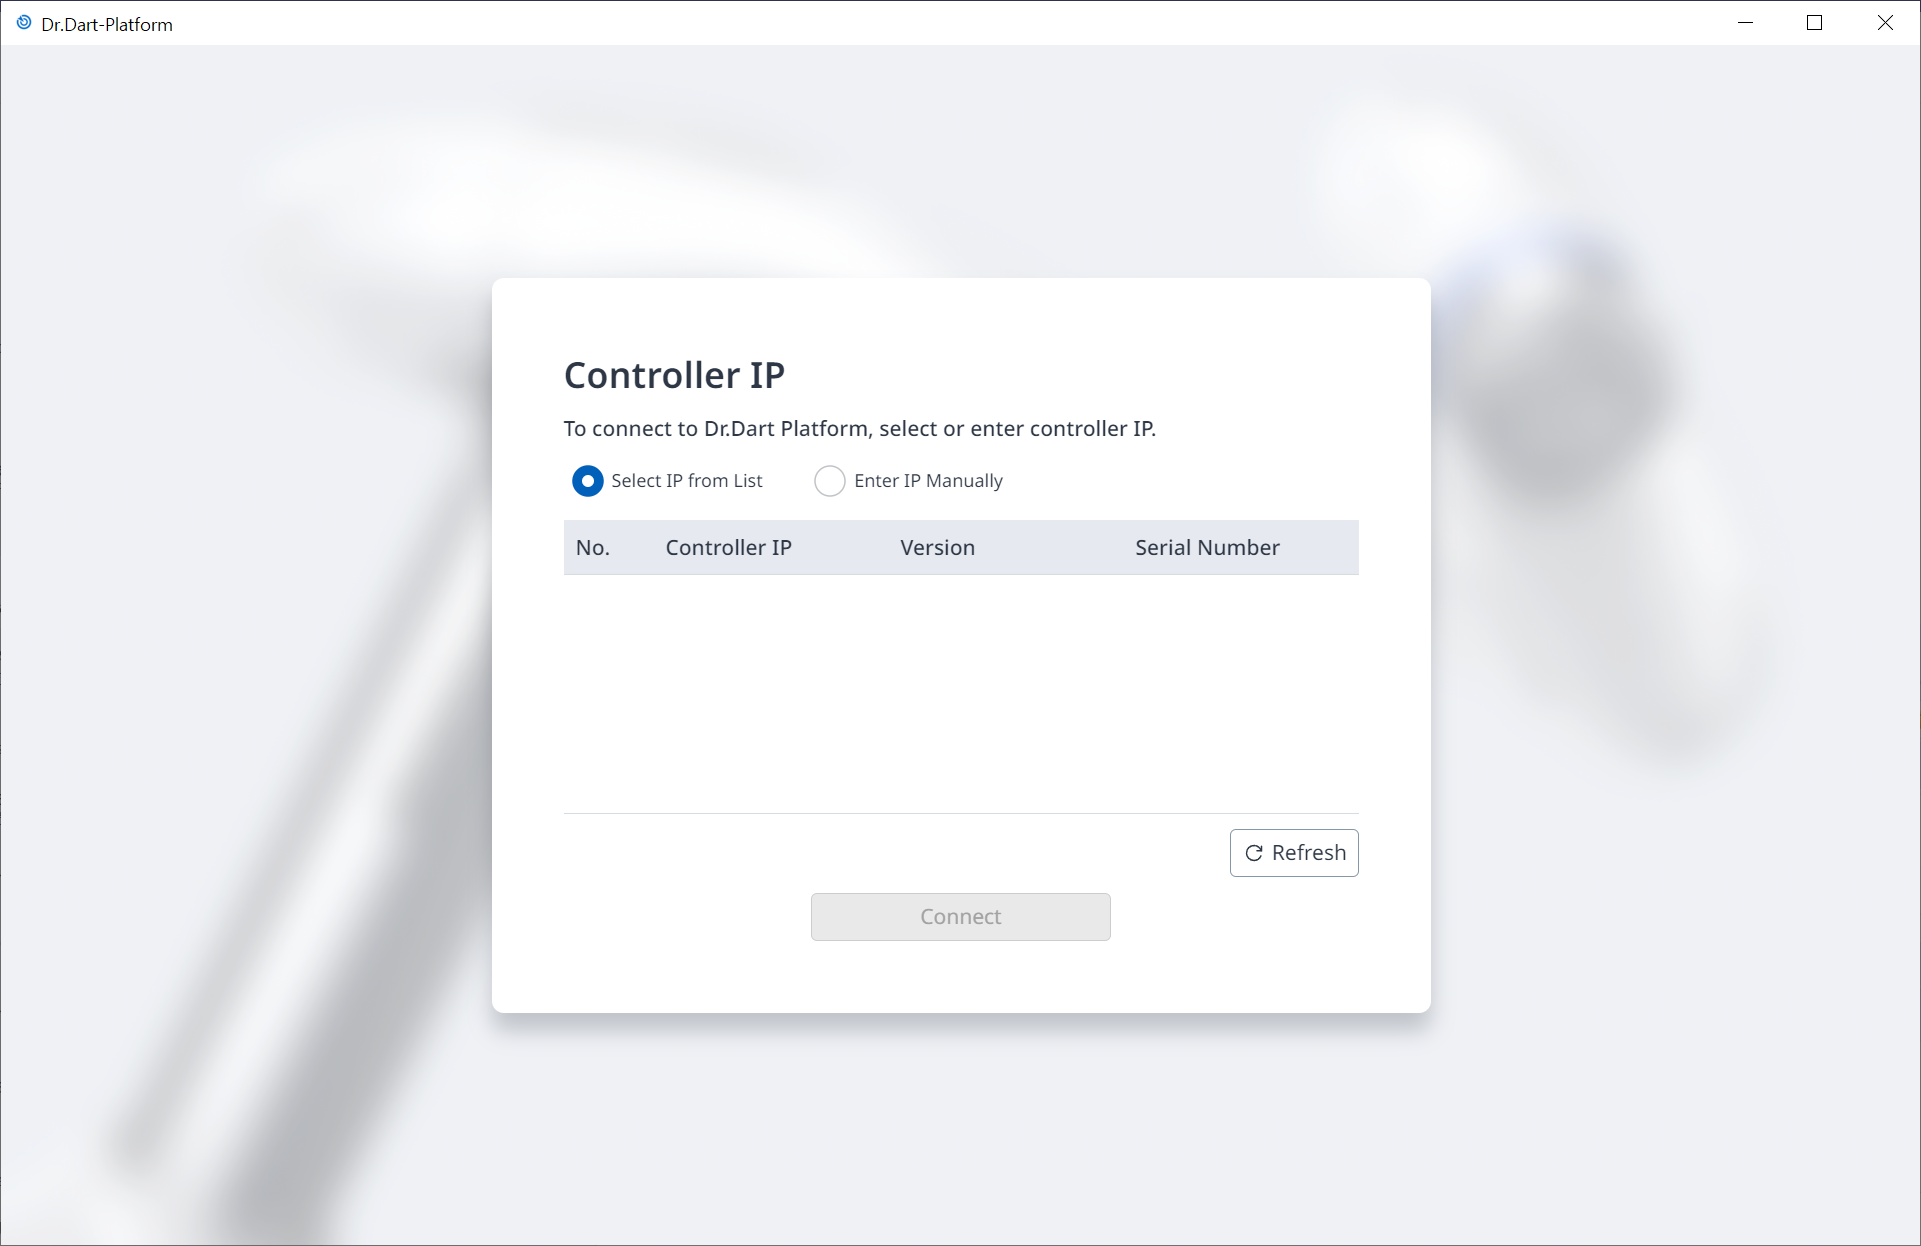
Default controller IP: 192.168.137.100
Default Dart-Services IP: 127.0.0.1
Recommended your PC IP: 192.168.137.XX (If your IP does not change automatically)
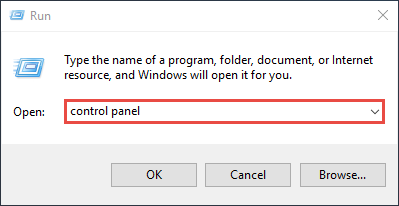
1. Open the Control Panel
Press “Windows + R”, then a Run box comes out. Input control panel and press Enter to open the control panel.
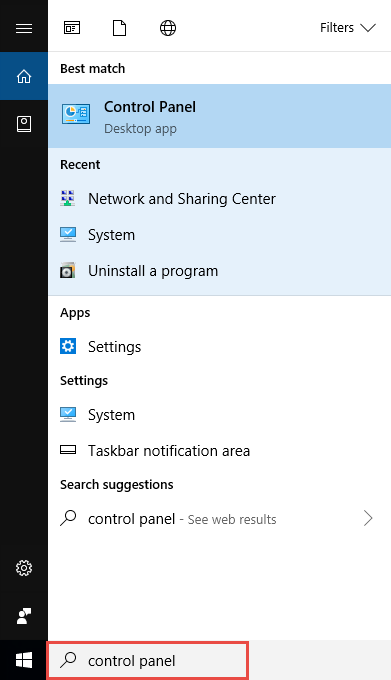
You can also type control panel in the search bar at the lower left of the screen and press Enter to open the control panel.
2. Go to Network Connections
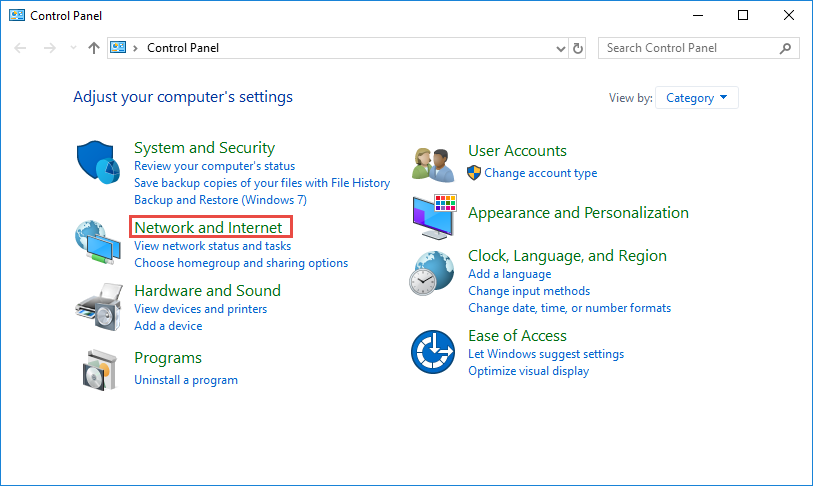
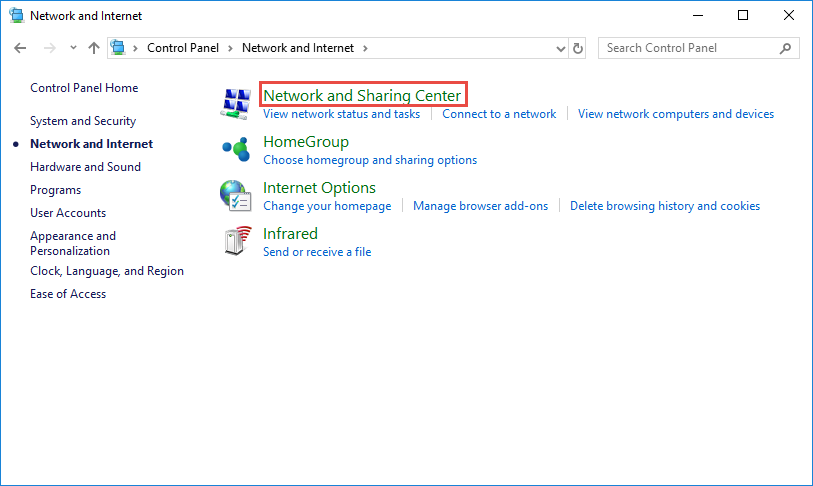
Go to Network and Internet > Network and Sharing Center.
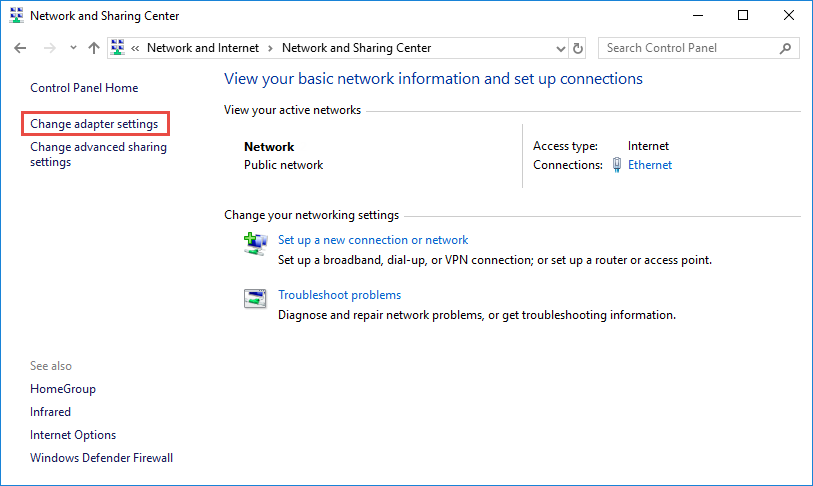
Select Change adapter settings on the left.
3. Set the IP address
Right Click Local Area Connection and select Properties.
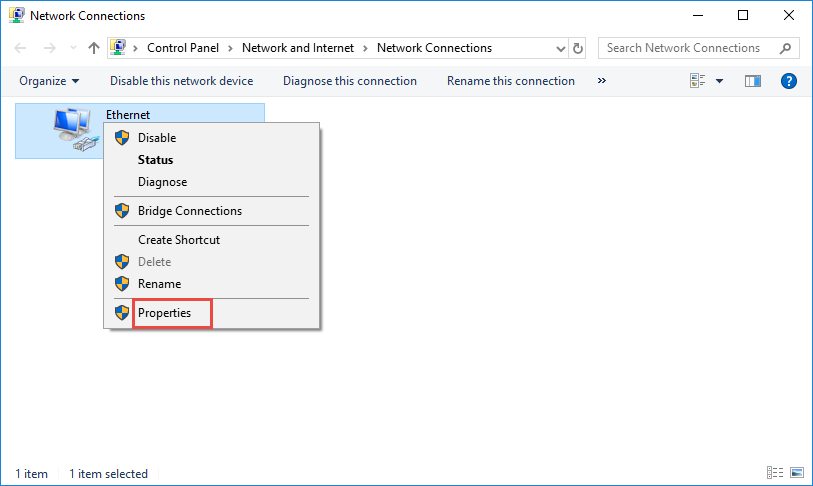
Then double click Internet Protocol Version 4 (TCP/IPv4).
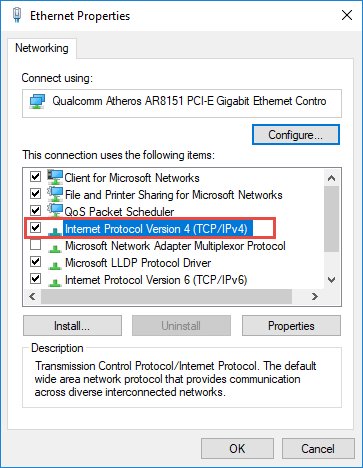
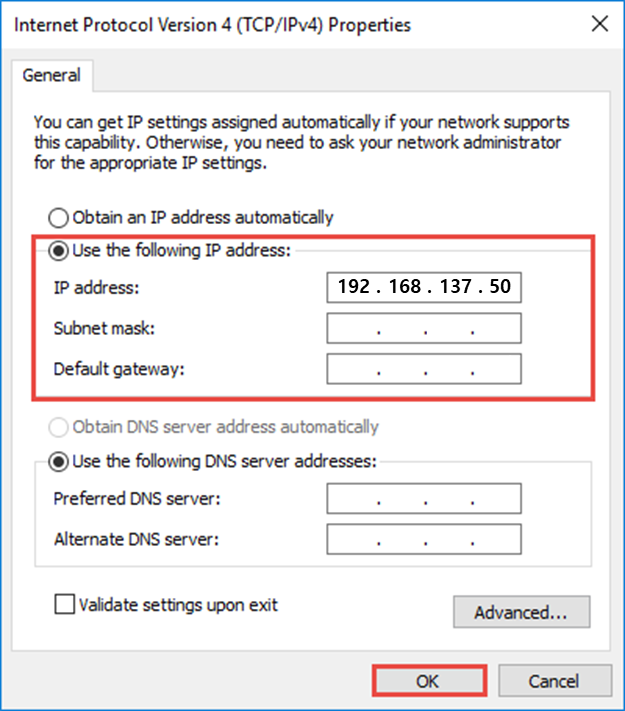
Select Use the Following IP address: and type in the IP address, Subnet mask(Optional) and Default gateway(Optional). Click OK to apply the settings.
If you have a trouble on connection with the robot controller,
Please unplug and plug the PC LAN cable.
After turning on the controller, please turn on the T/P also by long pressing the power button.
Wait while booting completes.
After the normal boot when the white screen appears, run the Windows Dart-Platform.
Click the option
Select IP from Listand then click on theRefreshbutton.If the IP is unidentified, turn off the firewall of the PC, try
Refreshagain and then connect.
Build and Install a Module
After staring the Dart-Services, you can build and download Module in Dart-IDE VSCode Extension and install the Module in Dart-Platform. There are two ways for build and install a module.
Step 1. Open your project folder and check that Dart-Services is running. If it is running, Status bar’s information will be changed to
Dart-Service: running

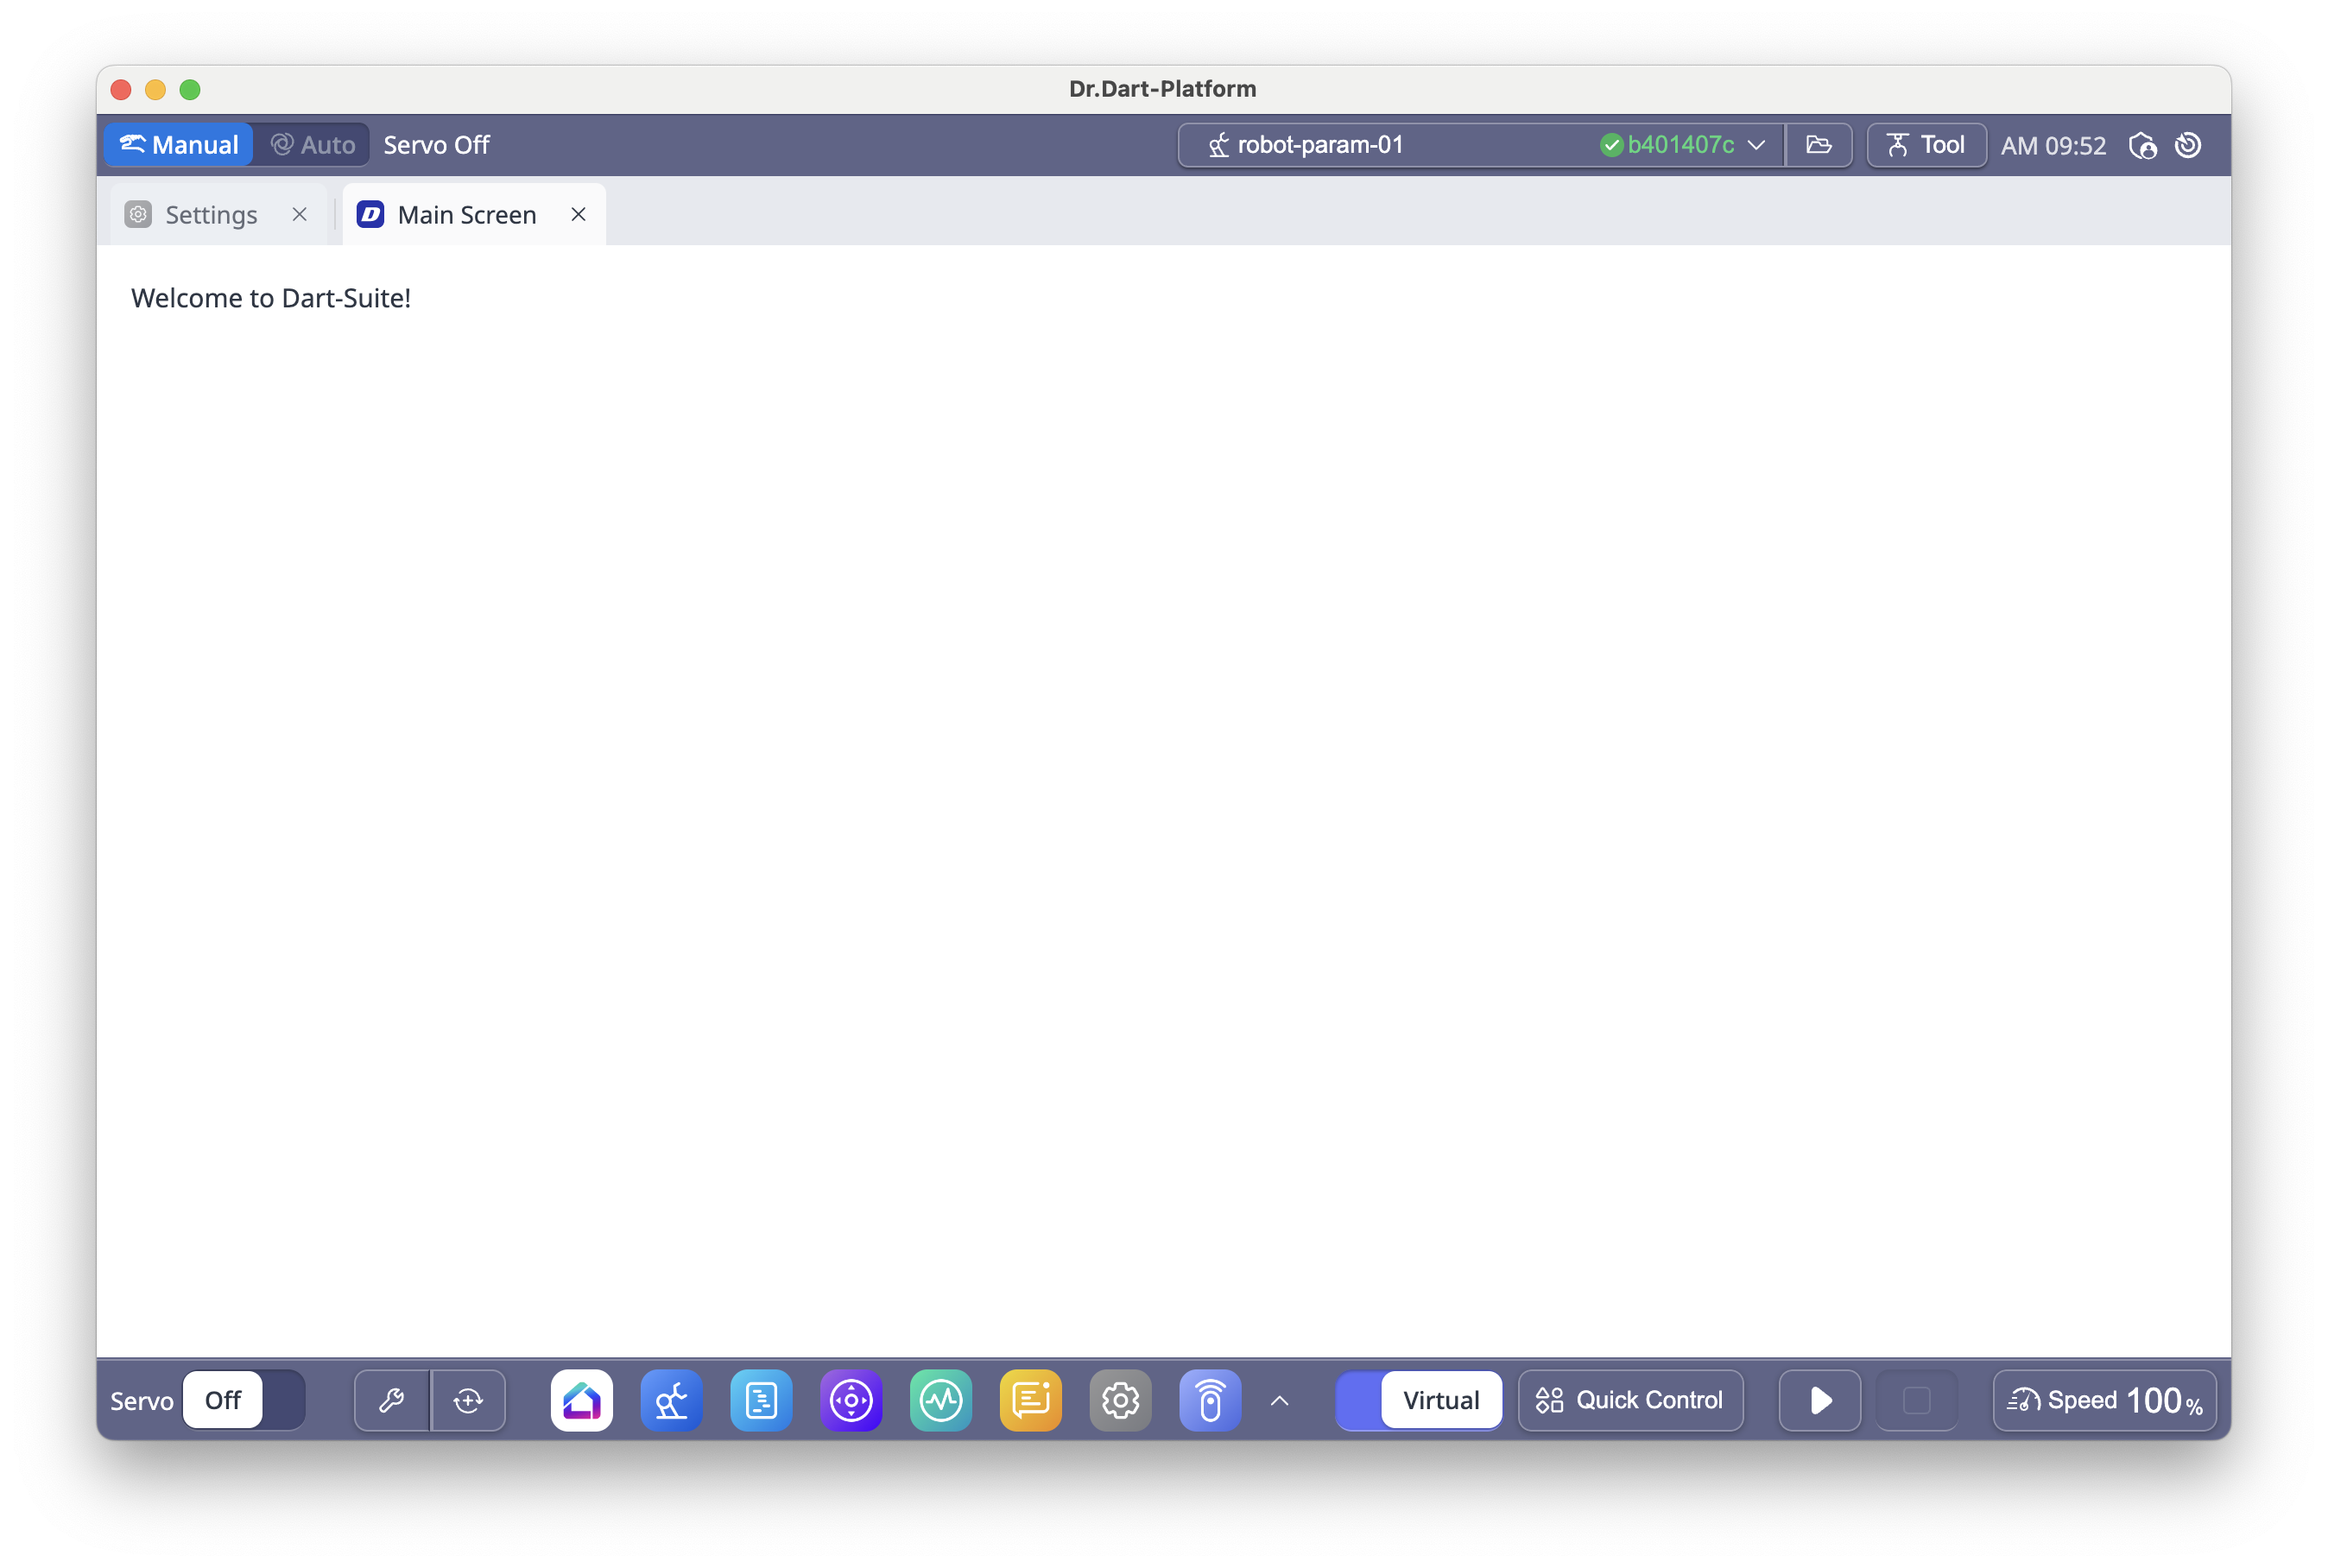
Step 2. Go to the Dart-Platform and change the authority from OPERATOR to SUPERVISOR in Dart-Platform. To use all features of Dart-Platform, you must change the User Authority Level to
Manual Level.In Operator Level, only limited functions such as
Servo OnandAutomatic Robot Motionexecution, are available.In Supervisor Level, all functions such as
JogandDart-Storeare available. The Level is similar to the Administrator mode so that all the functions are possible in this level.
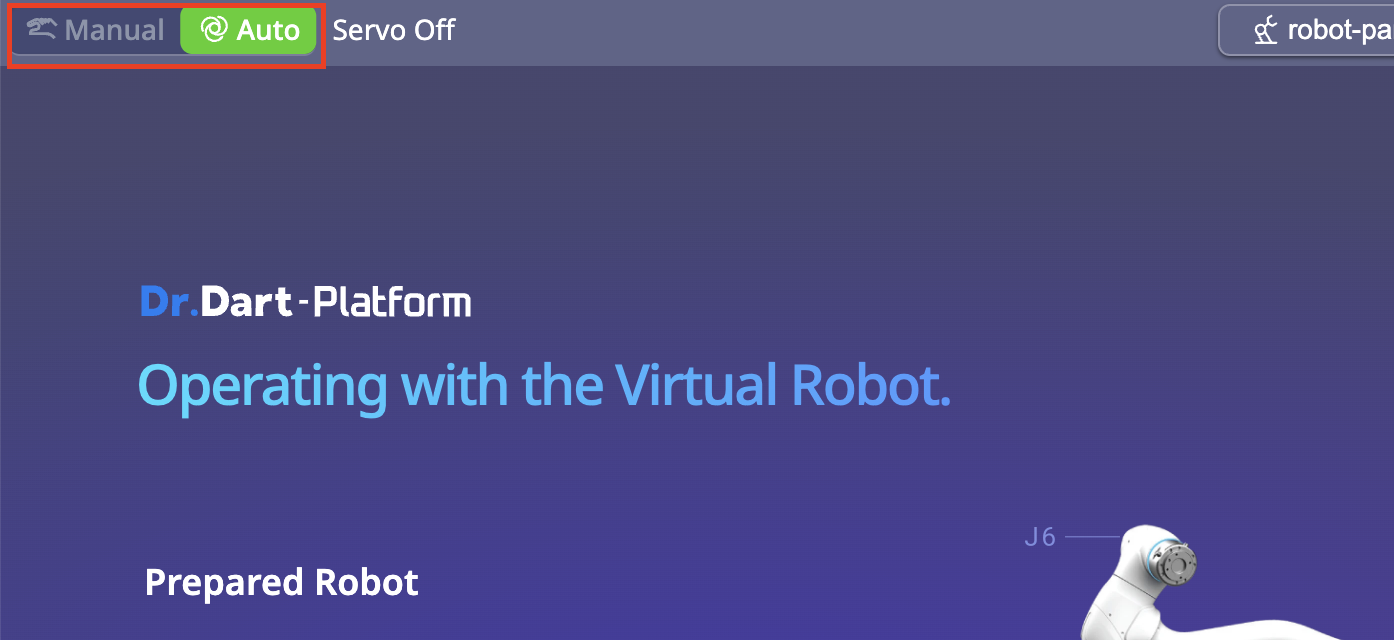
Click the
Manualon the topbar.Input the
Safety Passwordand ClickConfirmButton.
Default Safety Password : admin

Popup requesting input of Safety Password
Now, there are two ways to install the module.
Install a module by file
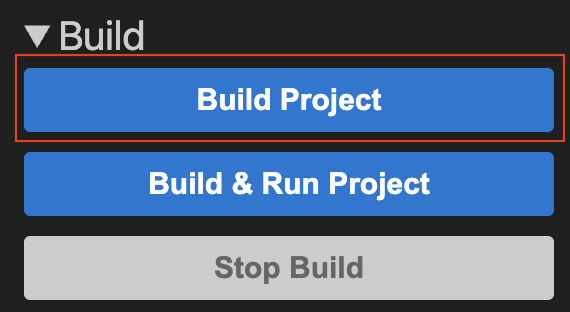
Step 3. Access to Dart-IDE Extenion menu and click
Build Projectmenu which is in the menu ofBuild. Basically, file will be downloaded to your project folder.
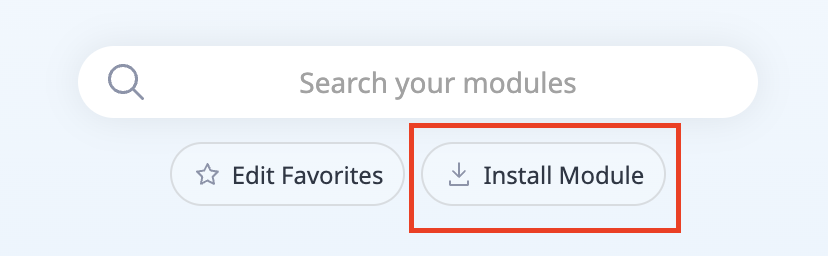
Step 4. Go to the Home module and install a Module file to Dart-Platform
Install a module by IDE
Step 3. Go to the
Settingsmodule.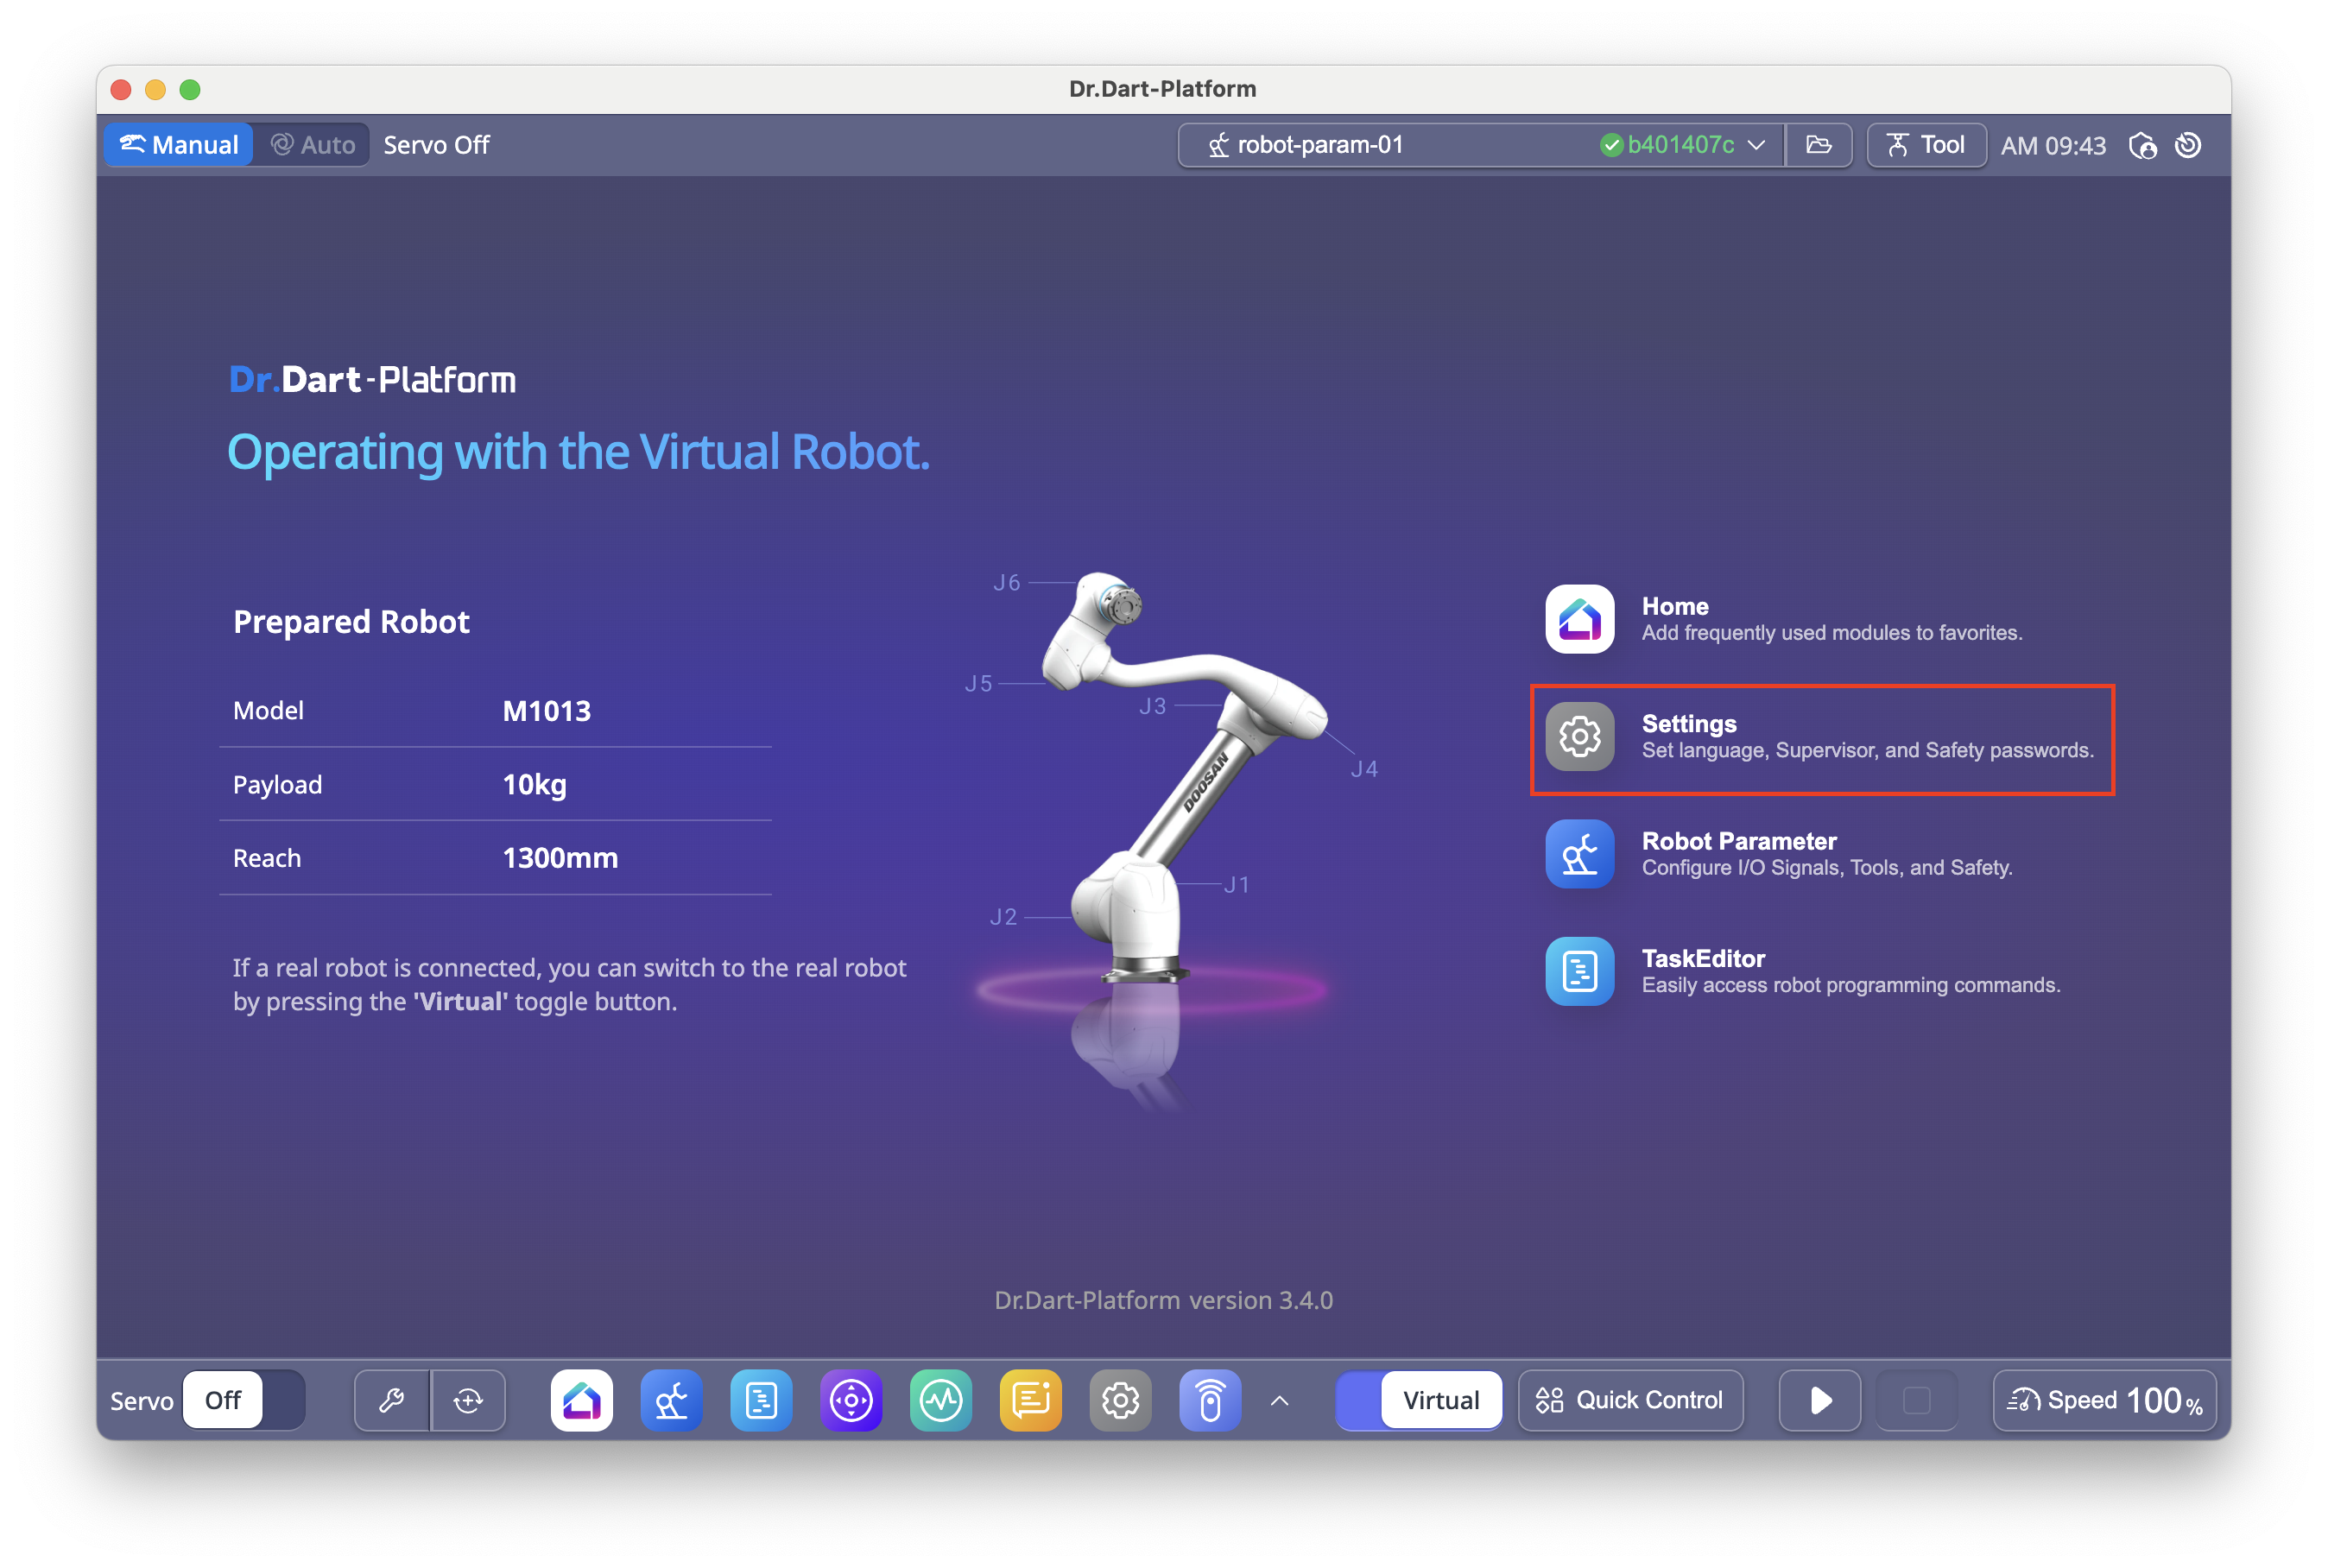
Step 4. Go to the
Network ▸ IDE Connection. Then, select your IP from the list.
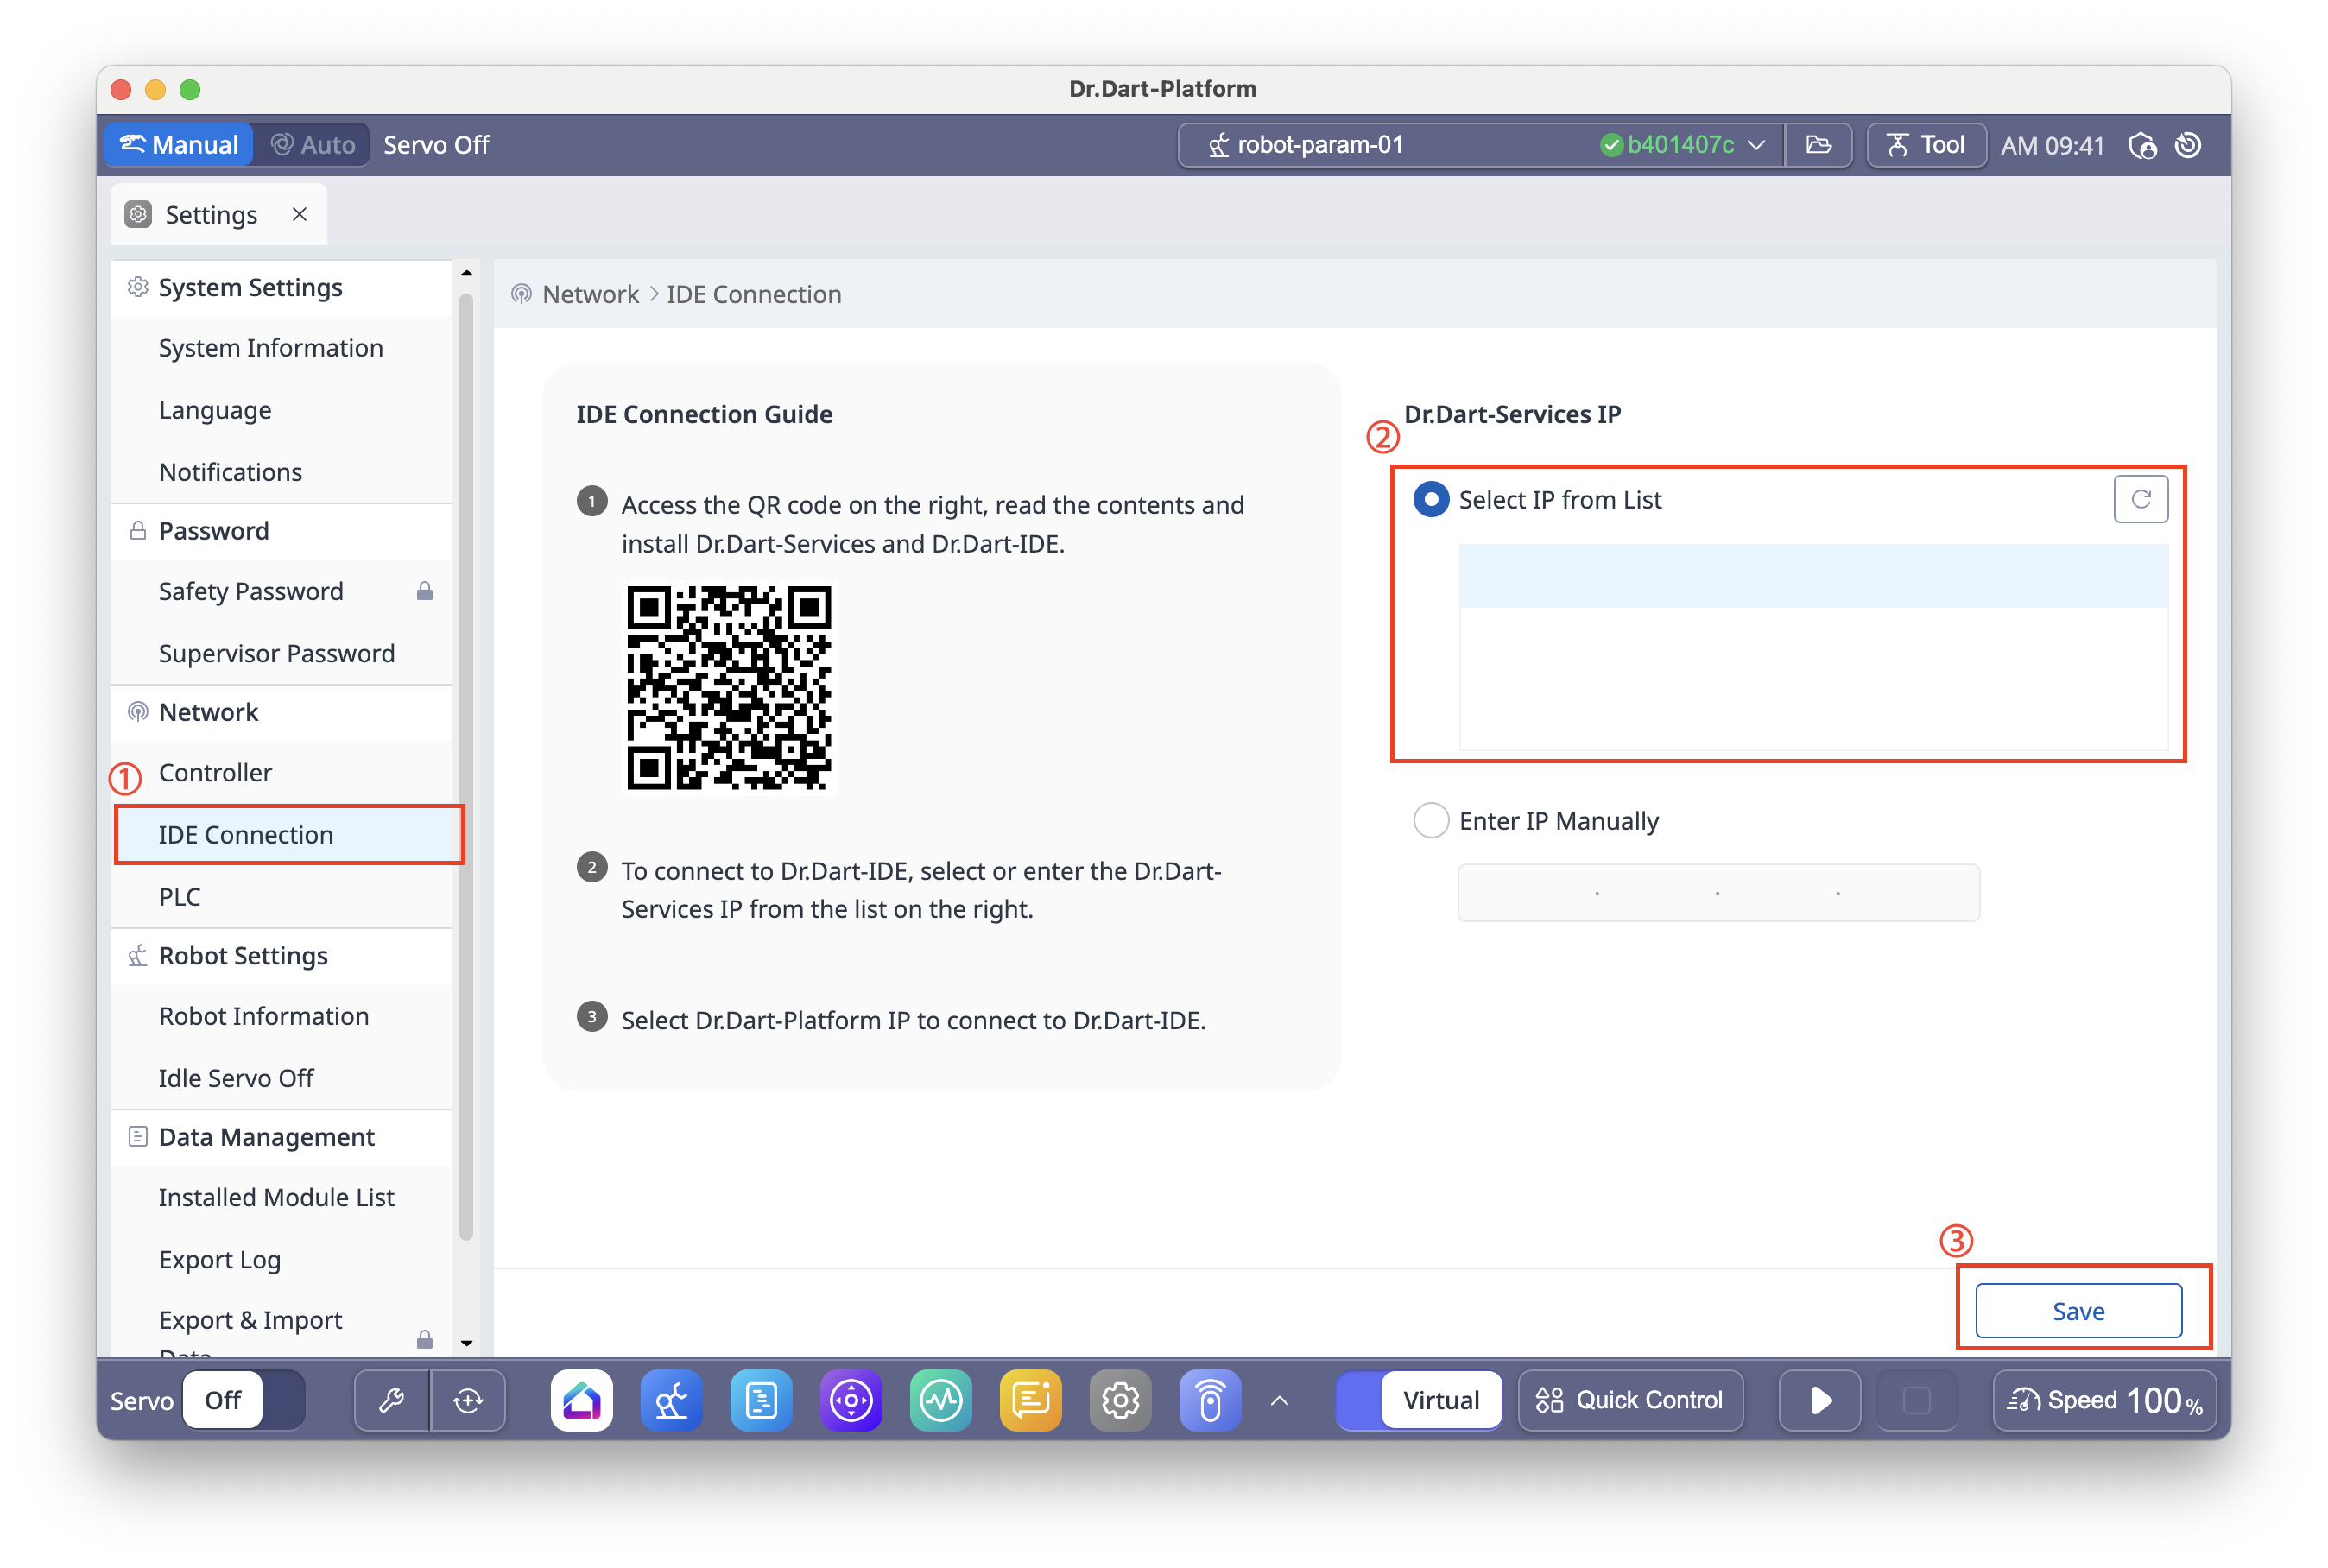
Step 5. Click the
Savebutton. If save success, IDE’s status bar will be changed toPlatform not selected.

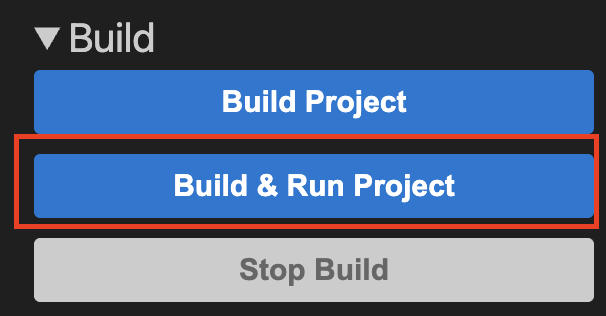
Step 6. Access to Dart-IDE menu and click
Build & Run Projectmenu which is in the menu ofBuild.
Step 7. Select Platform that you connected. Then module will be installed to that platform.

Now enjoy your first module and make more complicated modules for the robot and system.
Installation errors often occur when you select a module incompatible with Dart-Platform or an incomplete module. Every time you install the error software, an error message will appear as below. In this case, remove the file and re-install it from step 1.
